Showing posts with label Puppet building2. Show all posts

Tuesday, November 20, 2007

Vintage Veronica

Photo Sharing and Video Hosting at Photobucket
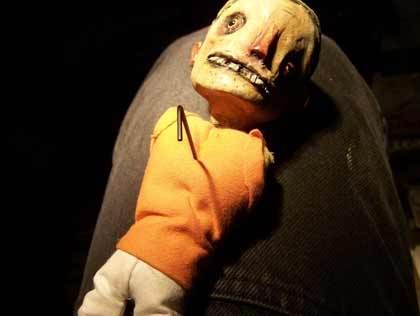
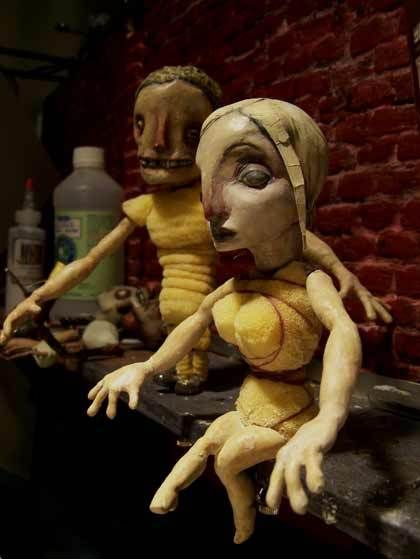
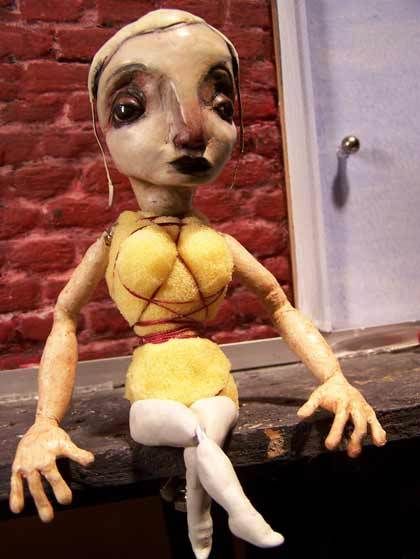
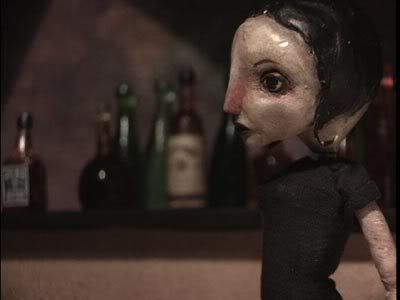
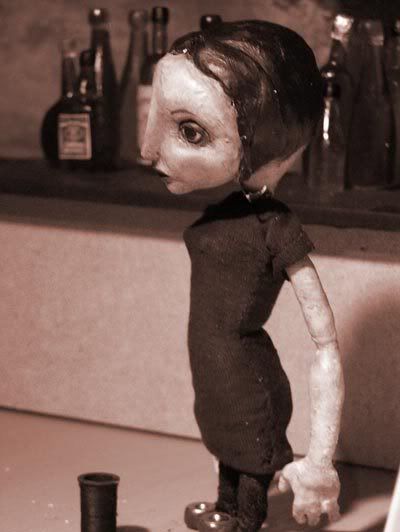
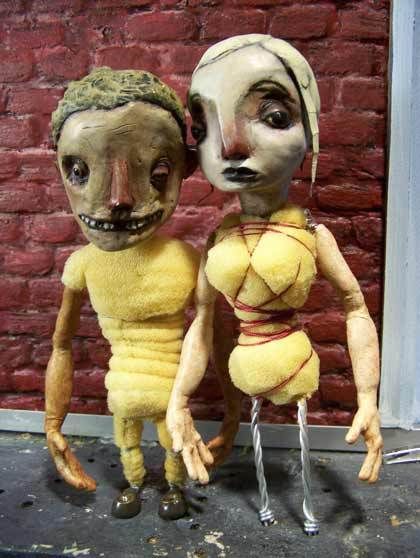
The puppets are all finished now and being dressed. Here's Veronica, desaturated nicely above and sporting lovely vintage Sepia tones below....

Photo Sharing and Video Hosting at Photobucket

Sunday, March 04, 2007

Tuesday, February 06, 2007

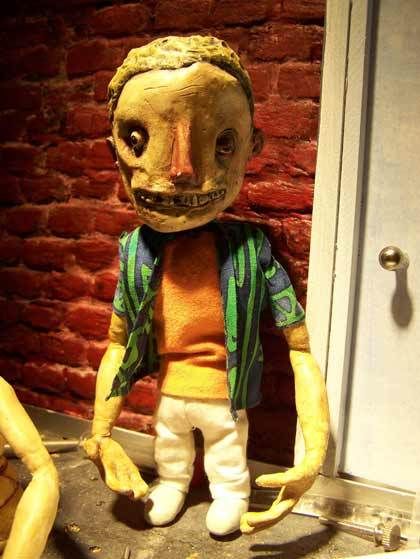
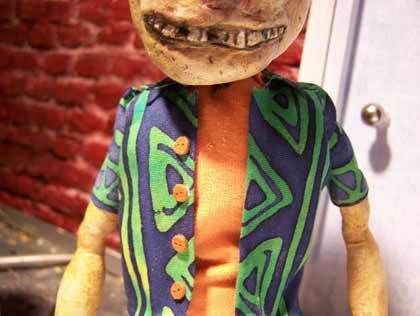
collared - and buttoned. I'm calling this one done!!!!!

Photobucket - Video and Image Hosting
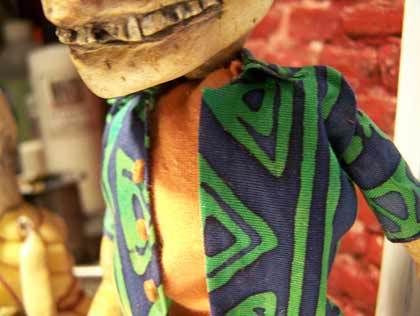
Man, I hate doing collars! As much work as the rest of the shirt, in a fiftieth the size! So much engineering... so many compound curves, edges that all need to be hemmed under somehow, and so tiny I can barely see it, much less get my bulky giant's fingers in to work with it! I swear I'll never again make a shirt with this kind of collar on it. This goes back to my idea of things that work well and things that don't.... why on earth should I struggle so hard to make something that doesn't look right anyway, puts all kinds of weird stresses on the already crappy looking shirt, and even if it did look good would only make everything look more 'normal'?!??!? From the neck down he's looking a bit like Malibu Ken's mutant cousin.

And the buttons!!!!! My god, they're so tiny they actually have no physical weight or mass! I couldn't pick them up, couldn't feel if I had one in my fingers or not, and once i finally did, I couldn't set it down! It stuck to my fingertips. Painting them was a nightmare. And still they look gigantic. From today forward I move progressively away from this cartoonfiied realism. There are ways to make puppet clothes that are at the same time much easier and look better, without ending up looking like doll clothes!

In the comments section of my last entry Sven mentioned the infamous "Muppet Stitch", that supposedly can be done from outside and look almost invisible. I've heard of it before, and decided to go in search of. I found this thread at Muppet Central: Hensen Stitch. What I gather is that there's no real magic stitch, it's more a matter of great skill on the part of the stitcher. I once downloaded a page with a bunch of diagrams for different stitches and tried to learn a few of them, but now I usually just use the most basic one... straight across, and try to keep the line nice and straight and the stitches uniform and at an even tension. It works fine, I don't see a need for anything fancier, unless of course I actually COULD do a stitch from outside to repair or finish something I can't get to anymore.

And finally, here's a clip Eric posted recently at StopMoShorts, a trailer for Wombok Forest that just totally blows me away: Wombok Forest. I can't get enough of this! It's got a perfect balance of realism with an almost cartoonish exaggeration, but without looking like a cartoon. Every element is perfectly done... all the details, the lighting, the way the puppet is dressed, and especially the animation. Bravo Miles and Julie, bravo!
Saturday, February 03, 2007

So close!

Photobucket - Video and Image Hosting
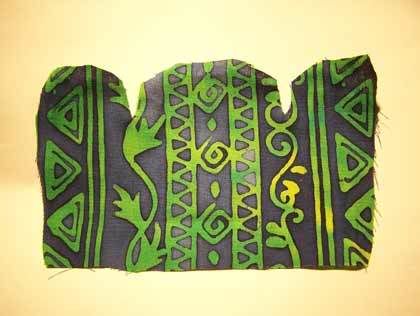
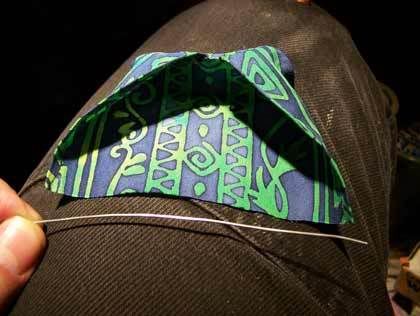
Pattern piece

Photobucket - Video and Image Hosting
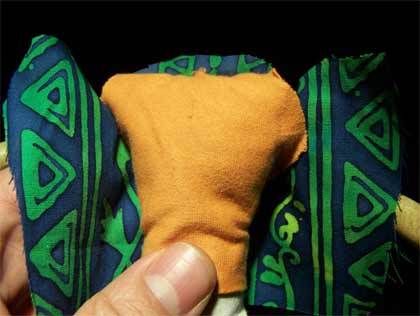
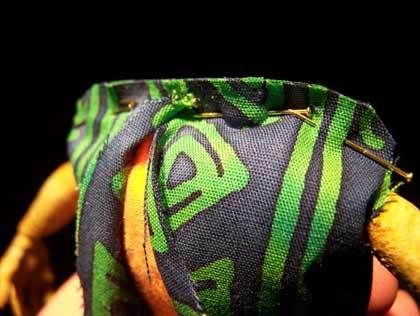
Pinned and trimmed, ready to stitch

Photobucket - Video and Image Hosting
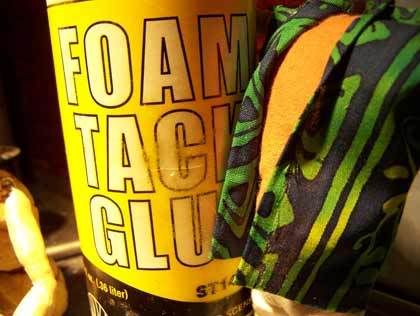
Foam Tack glue by Woodland Scenics is used for all hems. It looks and smells just like Elmer's Glue-all, but it's about twice as thick, and it tacks up instantly. That's why I like it for jobs like this, you don't need to hold things for very long, if at all. And it's very flexible.

Photobucket - Video and Image Hosting
A piece of wire goes in the bottom hem to help control the shirt and make it animatable

Photobucket - Video and Image Hosting
Hey Shelley! Lookie how I did the sleeves! Good idear, huh??! Sleeves are entirely glued on, no stitching involved. Nice and simple, the way I likes it!

Photobucket - Video and Image Hosting
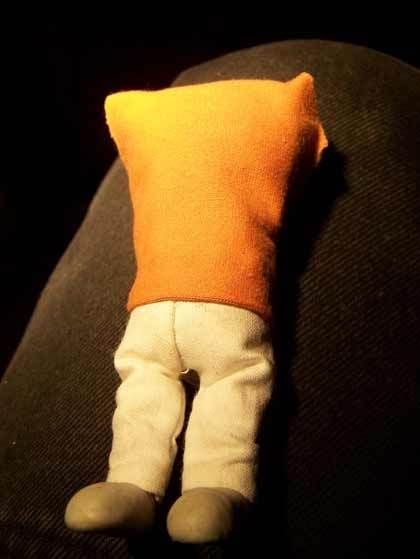
I just have to figure out how to make him a collar and possibly add a few more details and he's ready to rumble. Not perfect.... the seam along the top edge is kind of screwed up, and you can almost see the upper edge of one of the sleeves, oh and making the bottom hem shortened the shirt so much if he bends over at all you can see the shoddy job I did on the back of his orange undershirt. But it looks good at 60 yards on a galloping horse!

Friday, February 02, 2007

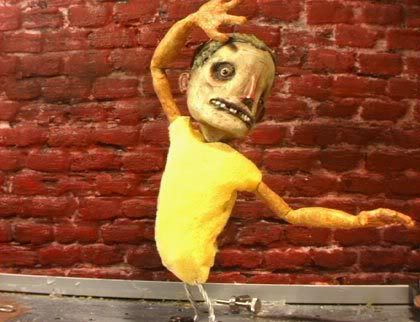
Shirt + Shoes = Service!

Photobucket - Video and Image Hosting
I'm cheating - it's just a shirtfront glued on!
Photobucket - Video and Image Hosting
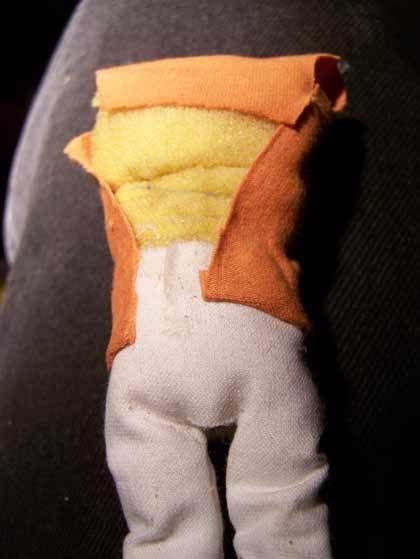
Strech fabric - springs shut after making small holes. Great stuff (and so forgiving for puppetwear!) Huck likes this part a little too much I think.
Photobucket - Video and Image Hosting
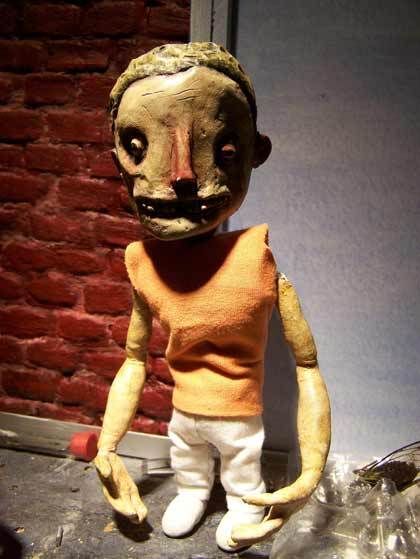
Damn, he almost looks better just like this!
Photobucket - Video and Image Hosting
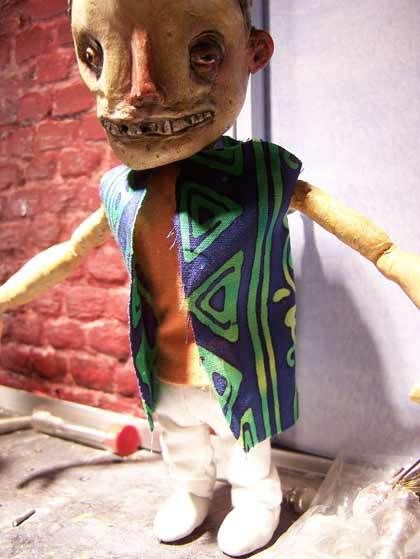
But Huck loves his Hawaiian style!

Thursday, February 01, 2007

almost done dressing first puppet

Photobucket - Video and Image Hosting
More cushion for pin pushin'

Photobucket - Video and Image Hosting
Pants!

Photobucket - Video and Image Hosting
Embarrassing crotch rot

Quick Fix

Photobucket - Video and Image Hosting
A dab of kwikweld'll do ya!

Wednesday, January 31, 2007

Brokeneck puppet

Photobucket - Video and Image Hosting
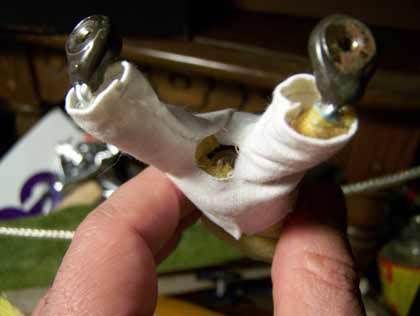
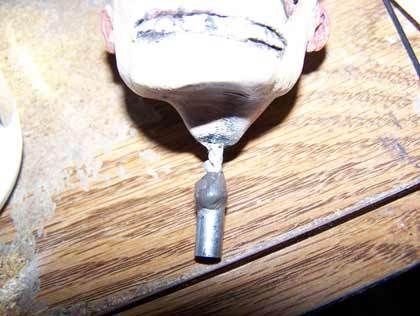
The head MUST come off! That's the whole point of using the chest blocks, so the heads and arms can pop off to facilitate dressing the puppets. But Huck's neck tube was somehow jammed tightly in place, and I had to bust out the pliers to work it loose. They did some damage, as you can see. I don't expect the head to live much longer.

I can think of 2 options when it breaks - one involves drilling up into the head and epoxying new wires in place. The other involves making a silicone mold and casting a copy in lightweight resin, something I considered from the beginning.

Tuesday, January 30, 2007

Back to it

Photobucket - Video and Image Hosting
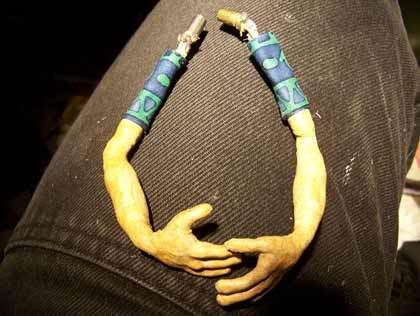
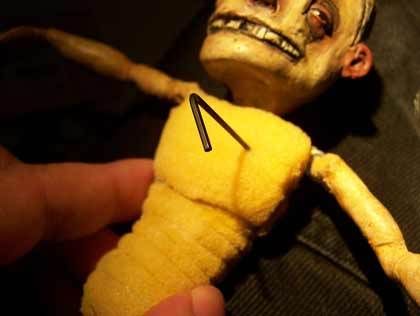
Well, at least I've been doing animation-related things each day! But now it's back to the film. Here's how I remove arms and heads from these guys. First, make a tiny hole with the tip of a nail, then sort of scrub the nail around a little in circles to make sure the hole goes all the way through the foam, and to open it up a little bit. Don't worry, it will close invisibly later. You need to make three holes, one positioned approximately over each set-screw. Now stick your allen key in. This isn't easy.... you need to move it around until it goes in the hex hole in the end of the screw. You won't be able to feel it at all. You just need to keep trying to turn the key until suddenly you'll feel a little resistance (meaning the screw is turning with it). Then you can pull the limb out. I removed Huck's arms and head in order to start making his shirt.
Photobucket - Video and Image Hosting
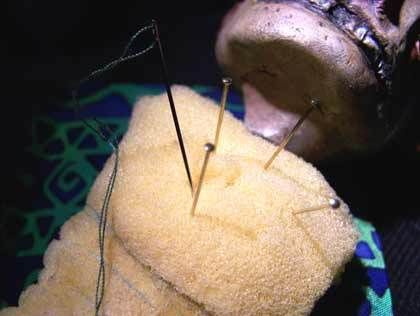
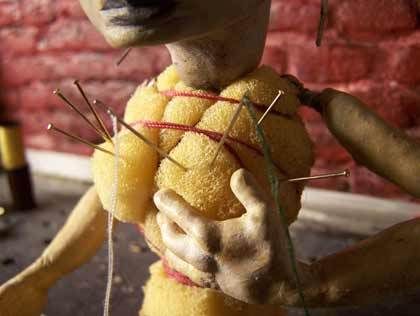
It's nice when your model is also your pincusion!
Photobucket - Video and Image Hosting
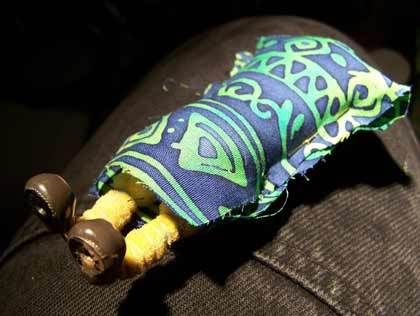
I'm going with this crazy batik print, sort-of-semi Hawaiian style. Just seems to fit his personality. He's pretty tacky.

Thursday, January 25, 2007

More paint

Photobucket - Video and Image Hosting
I powdered them up tonight to get rid of the shine, and they looked too whitish and pale, so I mixed up some more paint and hit 'em again. Much closer now. It's frustrating that I can't match Scott's paint better than this.... I guess it's mostly because I only have like 5 colors plus black and white! A subtler pallette would make it much easier - well maybe. I just get confued when I look at the faces... no telling what kind of crazy mixes he used!

Also I'm getting upset with the new digital camera. It's so freakin' hard to adjust brightness.... with the animation cam all I have to do is turn a ring around the lens... one way it gets brighter, the other way ot gets darker, and I get instant feedback of exactly what it looks like on the monitor. Nohing like that with the still cam. Oh no, I have to go into manual mode and then compute variations of f-stop, shutter speed, exposure etc. Not only do you have to be a photographer, but a math wiz too! Sheesh!
Tuesday, January 16, 2007

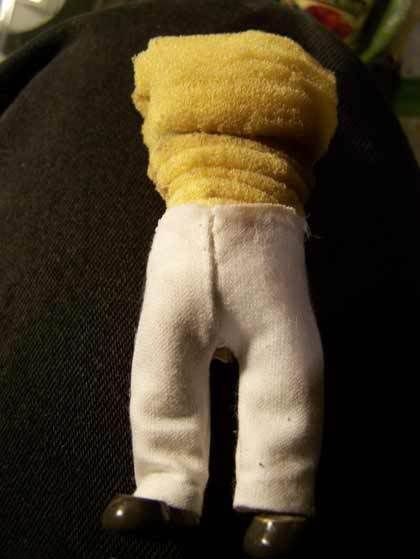
She's got legs

Photobucket - Video and Image Hosting
And she knows how to use em.

Monday, January 15, 2007

Sunday, January 14, 2007

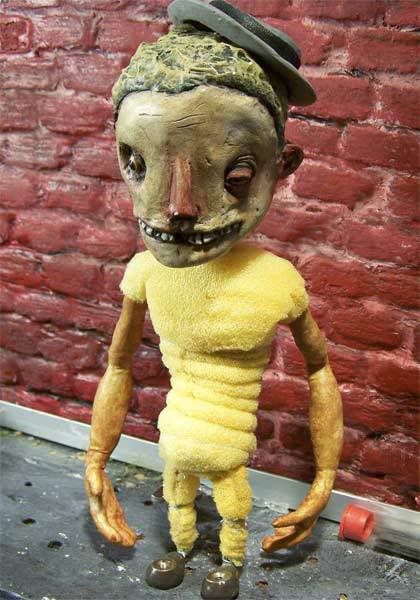
It's Huck!

Photobucket - Video and Image Hosting
Again with the tread wrapping! Tonight I decided to give Huck a little more definition - he was looking a little... tubular.

Sunday, November 12, 2006

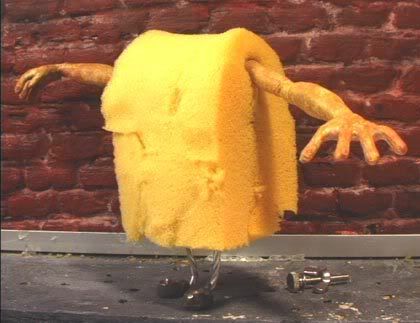
Spongehuck

Photobucket - Video and Image Hosting
Foam cut from sofa cushion with a drywall saw and applied with two heavy coats of spray adhesive.
Photobucket - Video and Image Hosting
Rough shaping done with kitchen shears.

Wednesday, October 25, 2006

Finished painting the arms at last!

Photobucket - Video and Image Hosting
Man, it took a long time and a lot of applications of paint to get the arms to *somewhat* match the heads! It was a matter of trial and error.... I'd mix up some paint to what I thought might look right, mix in the Pro Adhesive and a little water, dab it on the arms with a folded over piece of paper towel, and see what it looked like. Sometimes it was close, sometimes nowhere near. So after that's dry, do it all over again. At first I was having problems because all the colors had a lot of white mixed in, and the arms had this pale pastel look like they were glowing compared to the heads. Then I remembered the way to combat that is by applying watered down washes of pure color, with no white in it. And of course everything changes a little when you powder it up to get the shine off. It turns a little whitish and - well - powdery or chalky. So you have to have a little extra strength in your colors before powdering. I'm using colorless makeup powder, which minimizes the problem, but doesn't do away with it entirely.

Saturday, October 14, 2006

Basecoated (on friday the 13th... in Monster Month no less!!)

Photobucket - Video and Image Hosting
I've basecoated the arms on all 6 of the rubber-armed puppets (the oher two - Tonic and Cindy Lou - will be wearing long sleeves). I know they look kind of crazy right now, not the right colors, but I'm going to be adding layers of other colors and hopefully can bring each pair of arms around to what it needs to look like.

I'm using my own PAX paint based on some Pro Adhesive, a Pros-Aide substitute available from Monstermakers. I can't provide a direct link, but click to enter the Monster Shop, then go to Makeup Materials. The Pro Adhesive is the top item on the page. It's a special flexible adhesive made for adhering foam latex appliances to actors (if I understand correctly), so is formulated to work on latex. Here's the PAX paint recipe LIO was kind enough to post on the message board a few days ago (and wise enough to save from an old post on another forum):

'Pax'-paint has gone through a number of evolutions since Dick Smith
first invented it. To begin with it's been found that acrylic paint is
not really the ideal colorant to use as it tends to impart a leathery
and wrinkly texture...although this might be perfect for elephant skin,
etc.

It's been found that either liquid cosmetic pigments or as Lionel
pointed out..Universal Colorants should be used instead. Secondly,
The paint should be thinned out to an almost 'wash' consistency and
built up in several translucent coats until opacity is achieved. This
technique imparts a much softer, subtler texture to the surface.

Although technically, Pax-paint can be airbrushed it is recommended that
you do not as it clogs up the tips very rapidly and is an absolute "bear"
to clean out. The recommended techniques are stippling each coat by
hand with a torn piece of white foam rubber cosmetic sponge ...(for
initial surfacing) and using inexpensive brushes for additional
stippling and detailing. (pros-aide ruins brushes even when cleaned
off immediately with alcohol)

Before painting, your model should first be prepped by sealing the
surface of the foam with a thinned out coat of Pros-Aide...(P.A.- 40%
H2O-60%)

Here is a basic paint formula to try:

Base
-----------
1 part Pros-Aide adhesive
1 part acrylic matte medium (pref. Windsor Newton)
1 part distilled water
15% Acrylic "Flow Agent"

To this GRADUALLY add the desired colorant until opacity is achieved.
The finished paint should have the consistency of milk.

The paint should be further thinned out with water as needed.


I intend to get some of the universal colorants (also called TintsAll), but for now I'm just using acrylic paints, the liquid kind sold in jars, though occasionally I have to break into the thicker tube paints to get the colors I need. I'm applying the paint with a piece of paper towel (while wearing latex gloves... this stuff doesn't want to wash off!) and I just keep patting and tapping gently at the surface. After a while the paint starts to get really tacky, and then you can get a really nice fine dot pattern. Don't keep going for very long after it turns tacky though... the paper towel will start leaving pieces of itself, and the paint can even start to lift off.

Wednesday, October 04, 2006

Bustin' knuckles

Photobucket - Video and Image Hosting
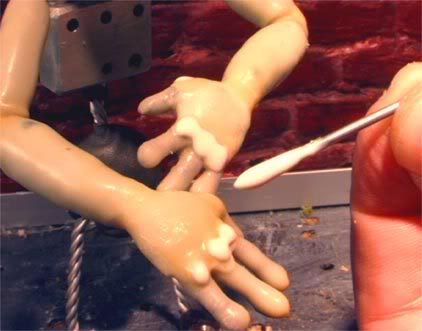
Here I am applying a nice drop of latex to Hoppy - or at least pretending like I am. Do you realize that, in all my pics of techniques, I'm never actually doing what I seem to be doing? That's right, when you're taking the pics yourself, you can't do it while also performing some difficult painstaking task, so I just wait till I'm done and then pose as if I'm still working. That's the way a lot of "in progress" shots are done, I guarantee you.

Anywhoo, you can see here how unpredictable this can get. Sometimes all the drops run together into a uknicle and sometimes they stay separate.


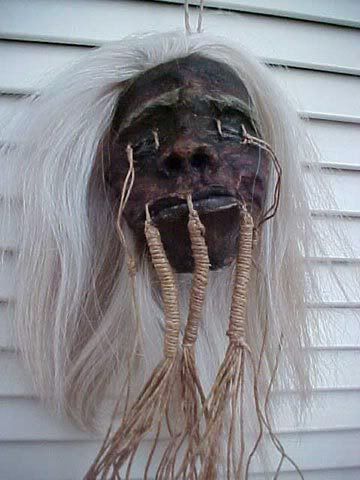
No, this isn't my apple head... it hasn't reached this advanced state just yet! I just happened to run across a place where you can get your very own authentic shrunken human head! Well, authentic replica that is, made from tanned animal hide by "indigenous artisans". Nice, but I think I'll stick with fruitmangling.

Tuesday, September 26, 2006

A call to arms

Photobucket - Video and Image Hosting
Let the dip-a-thon commence.

Monday, September 25, 2006

Got latex?

Photobucket - Video and Image Hosting
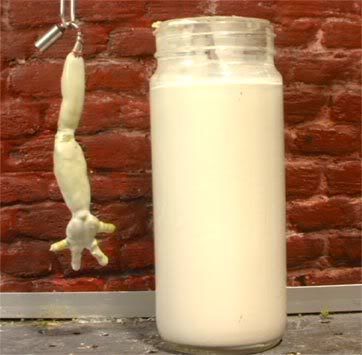
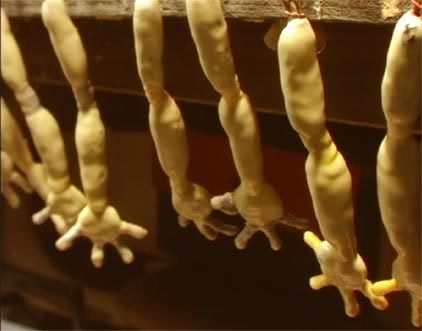
I decided to go ahead and try the dipping latex. Now that I've wrapped the fingers with thread and smoothed out the contours of the arms, all they really need is a few layers anyway... no need for a lot of thick filler to hide all the defects (though I wish the defects would magically disappear!). Since I had mixed half of my new bottle of dipping latex with thickener in an old latex jar, the bottle was too low to dip the arms directly into... I had to find a tall narrow jar.

Man, so many problems! Hairs have a way of magnetically attracting themselves to an arm right after you pull it out of the latex and sticking to it.... little air bubbles all over the place, and most annoying of all the rubber likes to pool up in the areas between fingers, like a webbing. When you first dip one you have to hold it over the jar for a while and let the excess latex drip off the fingertips. You also have to take a small nail and pop the bubbles and pull the latex out of those spots between the fingers. Careful not to touch it anywhere, or to let it touch the edge of the table when you hang it there to dry! Everything that can go wrong will... I had a nice sized spider go skittering toward one I had just hung.... had to make a sudden-death swipe to save the arm (lost the spider).

The thicker slip casting latex should show up in a day or two - that should be better, at least in some respects. I've already dipped some of these arms 4 times and it's not thick enough yet. I want the ribbing from the wrapped thread to disappear completely.