Showing posts with label Radke. Show all posts

Friday, September 18, 2009

Happily, Hoppy Has His Hoodie

pants are a breeze...
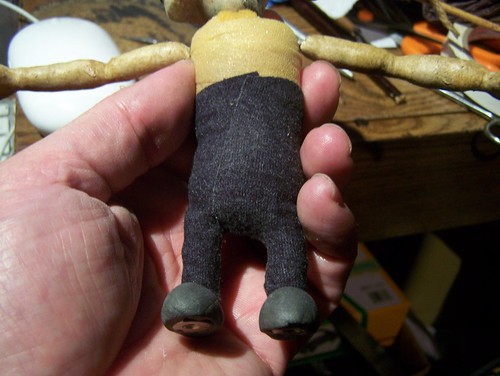
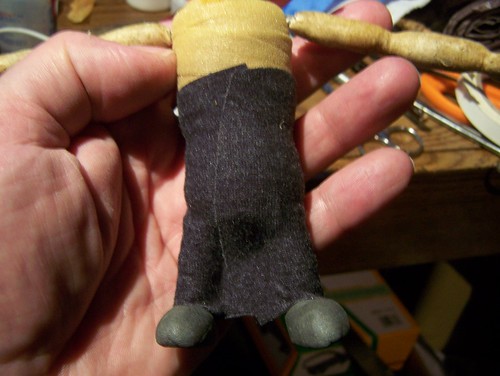
Trying something new. I just hit one side of the fabric sheet with some spray adhesive and let it tack up for a while, then wrapped it around Hoppy all nice and snug. Made sure to pinch it tight in the space between his legs so it gets good adhesion along the seam lines.
Excess cloth trimmed off
Trimmed away the excess fabric.
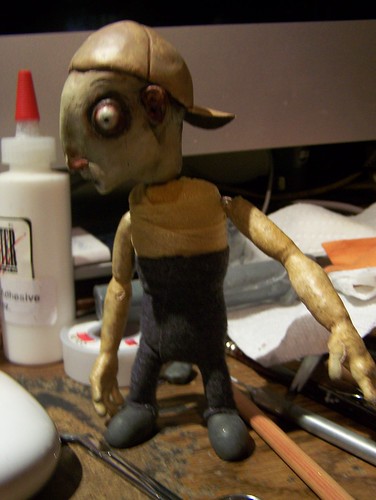
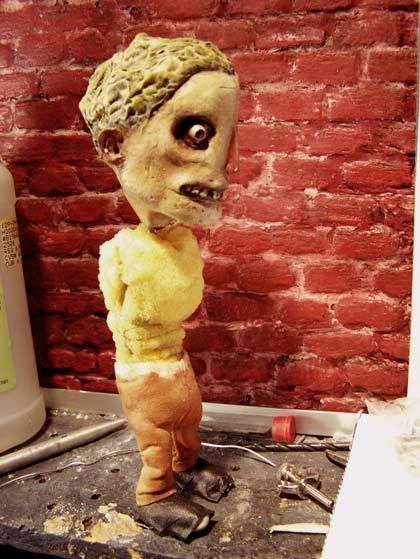
Hoppy has pants
This worked extremely well!! It's great for cartoonish puppets. Just make sure to use STREEEEETCH fabric!
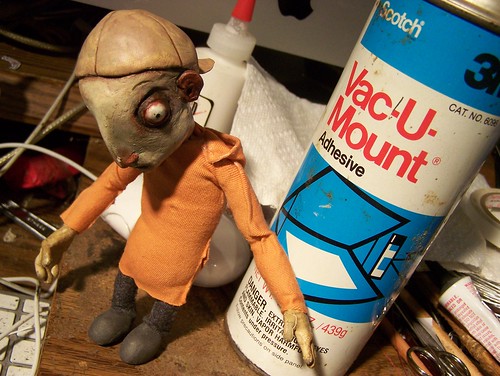
Hoodie
Made his hoodie the same way as the pants. I screwed up and got weird wrinkles in the sleeves, but then decided it looks good. Too bad I didn't think to do it on purpose... next time I'll allow for it from the get-go.

Puppet clothes were never simpler to make!

Monday, September 14, 2009

Tonic finished!!!

Tonic finished

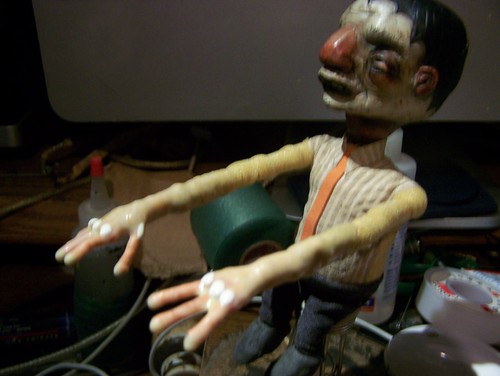
Another puppet dressed and DONE!!!!


Don't dip it, drip it!

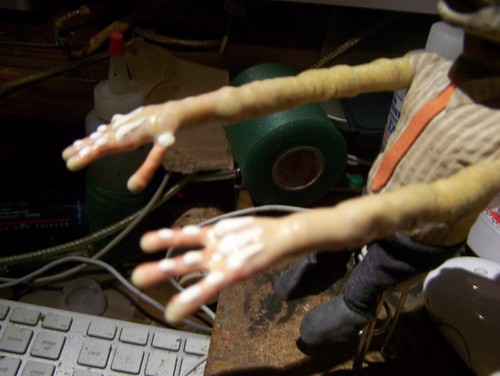
I've found there's no need to fill a tall jar with latex and dip hands/arms or whatever.... I bought this Latex Paint Base from www.MonsterMakers.com with handy dandy applicator tip... turns out Latex Paint Base is actually just very thin liquid latex with no added filler... same as Balloon Rubber. Just the stuff for putting 6 or 7 coats on for puppetskin. Also, doing it this way you don't get as much of the webbing between the fingers that needs to be constantly poked away. Just gotta watch those fingertip drips and shake them off or touch them with something to make the drips fall away before they dry.

Knucklehead

Sorry this is a bit out of focus. But you can see I've added drops of latex for knuckles. I only have very thin runny latex (Latex Paint Base from Monstermakers) and really thick latex (Foam Latex base), and neither was suitable for this - so I mixed them together. The mellow blend worked beautifully!!

More knuckles

I've added more detailing.... tiny knuckles on the fingers, plus tendons drawn over the backs of the handses.

Tonic Hands Painted

PAX painted using Monstermaker's No-Tac acrylic adhesive (hey Monstermakers, when does my check get here?) mixed with acrylic paint. An undercoat of raw umber followed by a mix of raw umber and white stippled on with a bit of paper towel, finally followed by a thin glaze of more raw umber. Then powdered with some corn starch to kill the (supposedly non-existant) tack and shine. It comes pretty close to matching the paint job on the head I think.

Looking at it now, most of the knuckles are too subtle... only the pinky knuckle on his right hand is big enough (and I thought that one was too big!). Those nasty gnarly arms will luckily be hidden under the sleeves.

*****EDIT*****

Just wanted to add a note here for future reference.... after a day or so the No-Tac adhesive dried with NO TAC!!! My other puppets' arms have a tendency to stick to anything they touch... ESPECIALLY each other!!! With the result that, when I detach them, sometimes big chunks of painted skin come off... not good!!! Plus dirt likes to stick to them. But the hands I made for Tonic (first time I've used the no-tac adhesive) don't feel AT ALL sticky! I wonder if that means I don't even need to powder the anymore? Need to do a test....


Saturday, March 14, 2009

Introducing Skulkin


Meet Skulkin. He's a puppet I whipped up quickly just so I could get in a little practice at animation. He's built similarly to the Radkin puppets for the film I'm working on, because I don't want to practice with them and break their aluminum bones.

Don't worry too much about the words... they have no meaning really, just something I thought up to connect these completely unrelated clips.

I don't know why the clip is squashed on my site... but if you download it to your own computer (right click and Save As on a PC, or control click Download Linked File on a Mac) it shows the way it's supposed to, and you can even watch it fullscreen. I'll see if I can figure out the snafu... I know the clip wasn't squashed like that when I uploaded it. In the meantime, please just bear with me and download the clip to watch it.

I've also added it to the sidebar with my other clips. Enjoy.

Tuesday, July 22, 2008

Settin and proppin

100_0596
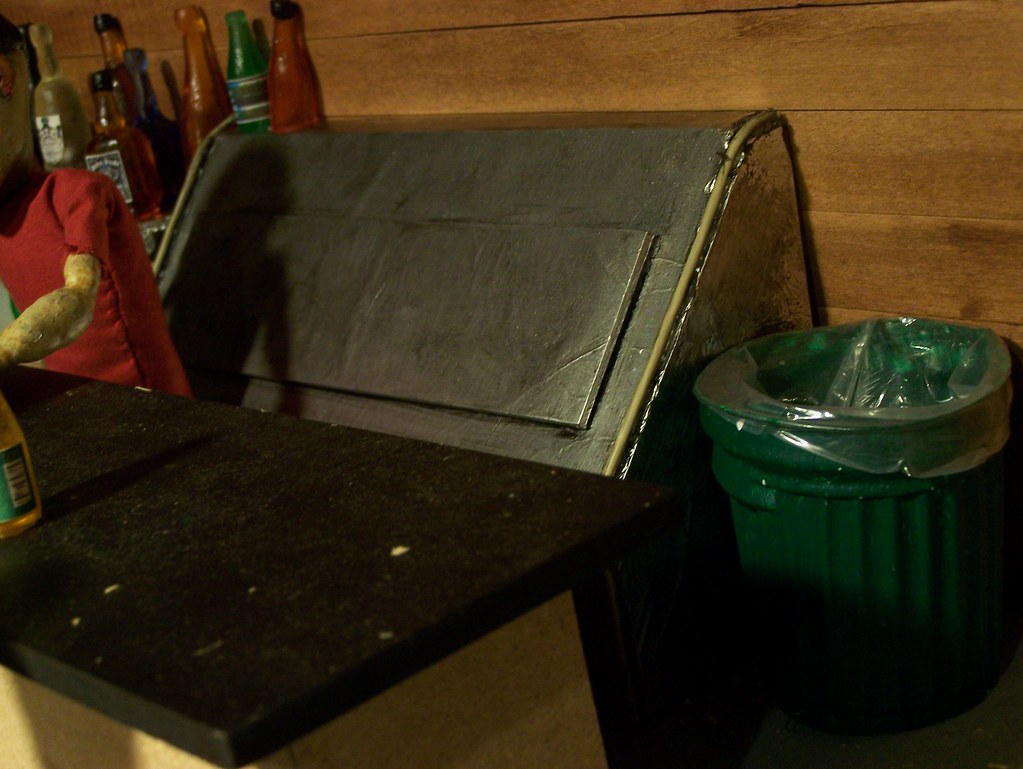
Just to prove I've been doing actual physical work, on top of delving into the absurd... Cosmo got a new (make that heavily used) cooler, and a trash can that began life as a plastic chicken tub.

100_0598
He also ordered (from his 'heavily used bar equipment' catalog) one shelving unit with stainless steel top.

100_0593
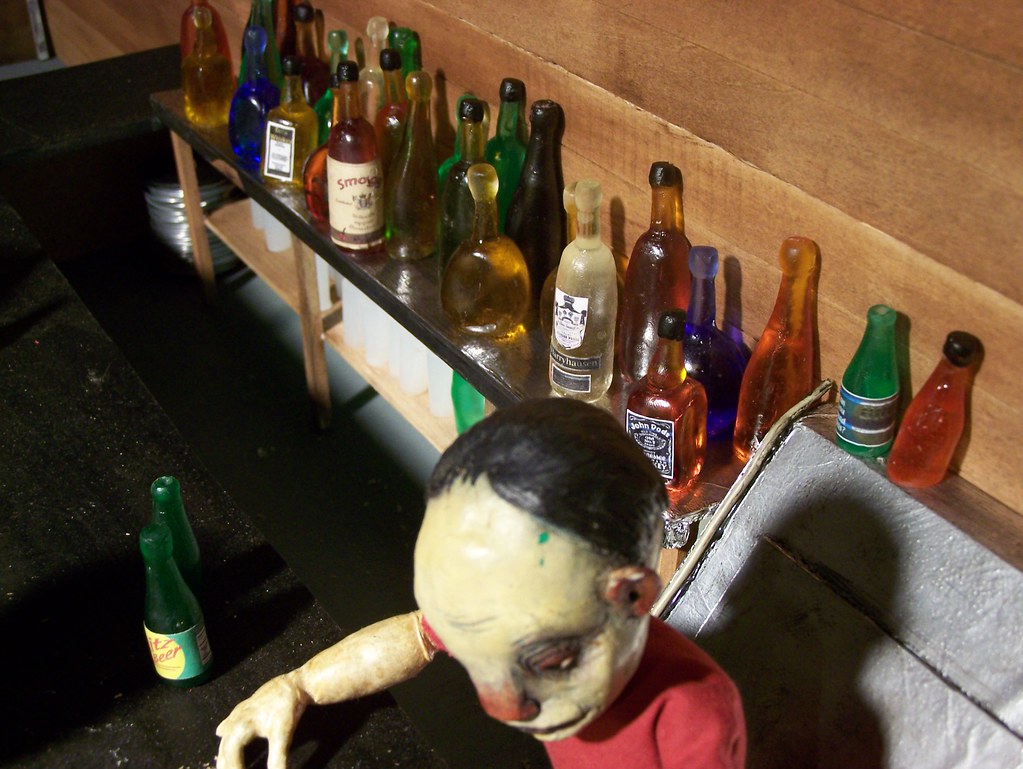
Here's a quick setup just to give the overall feel so far. It all needs detailing of course. Everything will start to come together a lot better when I get a printer and can put labels on some more bottles. Click any pic to see it larger at Flickr (once there click on "all sizes" above the pic). It was easier to shoot these with my crappy auto-everything camera than to set up the Lumix for these shots, and the lighting is awful. Hey, I don't want to spoil you!

Sunday, June 15, 2008

2nd barstool... NOW we're talkin'!!!!

Tomstoolery
Getting a feel for how the stools will fit into the decor. A little tall --- standers-by need to look up to talk to the seated, but I do like the way their tiny little legs dangle so comically. Imagine the difficulty for them, climbing onto one of these! Oh, and click the above pic to see it in megagigantic size at Flickr. I don't know, I MIGHT have to make shorter stools....

Photobucket
Ok, tonight things went a lot better than the prototype stool last night. I've worked out a methodology that turns it into a pretty simple production line, and gives me much better control over the finished product. Look how much taller and prouder the new stool is in the above pic than its predecessor, all sort of slumped and bedraggled looking. Plus of course it has a nice rectal tiedown on top! 
Photobucket
The heart and soul of my assembly line.... the leg jig. No no... it's NOT a sharpie cap with gaffer tape wrapped around it... it's actually intricate state-of-the-art equipment, made of beryllium. Ber ILL eeee yum. yeah. 
Photobucket
Round-thing-on-top wrapping jig. Ahem. No, it's NOT the end of my coping saw handle! It's made of carborundum. say it. Emphasis on third syllable - carboRUNdum. 
Photobucket
The Kwikweld station. A nice little tack-weld to hold everything together and reduce fidgetty, flippy floppy action as I work. This step might not even be necessary really. Think I'll eliminate it from the workflow. Kind of hard to clean up sticky nasty Kwikweld that likes to run down the legs.
Photobucket
Then a little blob of 5 minute Fasteel epoxy putty with a cut-off 6-32 screw stuck in. This is a purely structural layer, to be covered by the cushion when we arrive at the upholstery station. 
Photobucket
Ring-thing bending station. NOT a chisel handle. MAAANG-a-neez, ok?
Photobucket
Final assembly and cleanup. Seat cushion made from 20 minute Kneadatite A+B epoxy putty (gives me more time to sculpt it, plus a better color to paint later). The ring is hotglued to the legs on the underside, where it hopefully won't show, and the gap is hidden behind one of the legs that will be in the front. And we're done. Total time, about 1/2 an hour. Schaaaa-weeeet! 

Friday, June 13, 2008

Stool sample

Photobucket
I've just made my first prototype barstool. WOW, what a hassle!!!! Never in my life have I struggled and wrestled and fumbled with so many flipping, flopping fidgety little pieces of wire as they refused to do my bidding. It was like holding down an overturned cockroach while trying to glue something onto all its legs at once.... (sorry!) It's been about 24 hours since I first started this little job, and it's required an immense amount of problem-solving skills --- approximately equal to that required for the REST OF THE FREAKIN' FILM SO FAR!!! Looks pretty wonky, doesn't it? Heh... wait till you see the flipside:
Photobucket
Sorry, seeing this is bringing back the pain and suffering it took to make this crazy thing... I need a minute.

Photobucket
Ok... I'm better. Here's a little pile of legses I bent up last night.... enough for 5 more such monstrosities. I can only hope it gets easier after the first one...

It should actually, because I've now devised a nice little jig that I can assemble the parts on. Still need to come up with one for gluing on the little ring underneath though... extremely FIDGETY.....

(Oh, and don't miss the other new post directly under this one... I kind of buried it right after making it)

Tuesday, May 06, 2008

First we must expose the brain

brainblogSM
Hoppy is getting fitted for his cap. More pictures on Flickr.

Update:

Friday, May 02, 2008

Head surgery for Hoppy


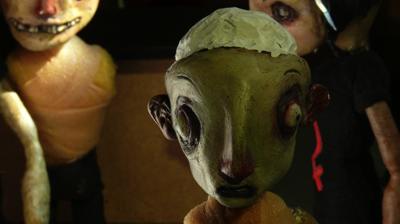
I had to take the knife to Hoppy - I'm afraid his hair was too badly damaged to fix. I finally worked up the courage to grab a chisel and just go to town... hacking away layers of paper and epoxy putty. The plan is to bust out some epoxy putty of my own and sculpt him a baseball cap - appropriately backwards or sideways or somesuch.

Thursday, February 14, 2008

Short wall


Click the pic, go to Flickr, mouse over the Notes

Welcome to the short wall of my set. Ever been in a bar that looks like this? This is a space that has a lot of history.... it's been used for other things in the past and still bears the markings from those earlier incarnations. The lighting here is horrible... it looks a lot better than these pics show.


I have ideas for cheating the size of my set. For instance, this wall is 3 feet long, while the short end of my set table is only 2 feet. More on that in future installments. I'm having massive computer issues... it's literally crashed 6 or 7 times while I was trying to put this post together! So I'm signing off now... wish I could post more, but it's starting to flicker again....

Tuesday, November 20, 2007

Vintage Veronica

Photo Sharing and Video Hosting at Photobucket
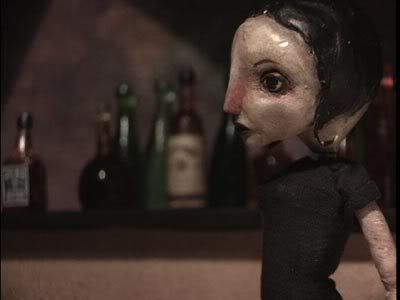
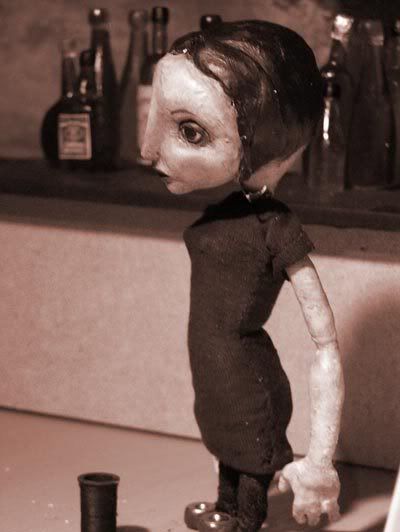
The puppets are all finished now and being dressed. Here's Veronica, desaturated nicely above and sporting lovely vintage Sepia tones below....

Photo Sharing and Video Hosting at Photobucket

Monday, November 05, 2007

Bottlefactory

Photo Sharing and Video Hosting at Photobucket

Photo Sharing and Video Hosting at Photobucket
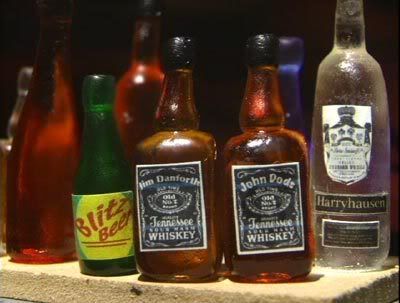
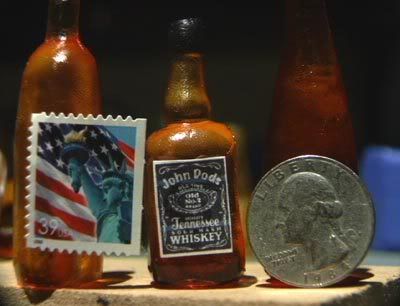
Man, that's tiny!!

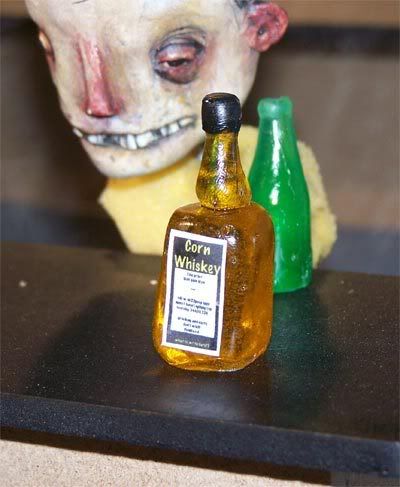
I've never really done this kind of work before, especially at this tiny scale!!! But as I go I learn, and 2nd or 3rd generation comes out looking pretty good. That applies to the bottles and to the labels (the vodka label is obviously still under development).

I did discover how to get bubble-free castings without needing a vacuum chamber.... all it takes is stirring very slowly. I also learned to spray the bottles with clear coat before pouring up the silicone molds, and also to spray the castings the same way.... makes them come to life! I only wish I had smoothed down the sculpts with solvent before baking them... I had no clue there were fingerprints all over everything!!

Now I'm learning to steal - um, borrow - elements I find online to make the labels look official and snazzy - a coat of arms here, a graphic element there (in some cases a complete label, with only minor adjustments). The earlier labels are looking downright crap in comparison to the newer ones. Guess it's time to redesign them now! But it's all worthwhile - I'm learning valuable skillz.

Saturday, October 27, 2007

Thursday, October 25, 2007

Tuesday, October 16, 2007

FLATIRON

Photo Sharing and Video Hosting at Photobucket
I thought I'd test the ideas of shallow and deep filmic space, which I'm only theoretically familiar with so far. Shallow space is a favorite of Von Sternberg {maybe I've written about him before? Can't recall.... ;) } and I know it can be achieved with a telephoto zoom lens with the camera set pretty far back from the action and zoomed way in. That's how I got the above pic. Notice the way all the puppets look the same size, with no foreshortening of perspective. If they weren't overlapped, it would look like they're all standing side by side for a police lineup. In fact there were about 16 inches between the frontmost and rearmost puppet! I couldn't quite get focus on all of them at once. This technique is used to create a sense that the image is flat like a painting.... it emphasizes the flatness of the screen and doesn't let the viewer feel they could walk into this space.... it distances them from the characters and creates a sense of disconnect between image and viewer.... a favorite among the avant gard because it makes viewers think about the nature of art. The back wall of the set seems to be squeezed right up behind them, and the entire space is squashed flat, with no room to breathe.

Heh... I also played around with some different settings in Framethief, and tried widescreen. But as you can see, all it did was stretch the image out sideways. Also, I apologise for the puppets always being in the same poses.... I don't want to bend them around too much before I pick up my megaphone and shout action.


Photo Sharing and Video Hosting at Photobucket
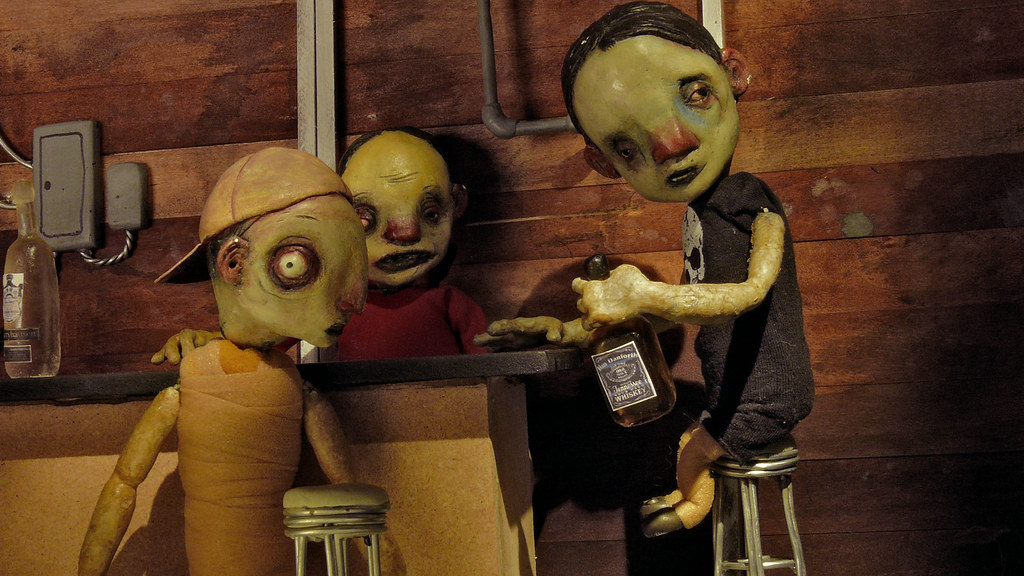
Here's the deep space we're all more familiar (and comfortable) with. I definitely prefer this look. It complements the stopmo aesthetic nicely..... what's the point of building 3 dimensional puppets/sets and then flattening them out photographically? Some people could make good use of shallow filmic space I'm sure, but for now I'm sticking with good old depth! Look how much smaller Cosmo (the bartender) is here than Hoppy (pop-eyed guy up front). His entire head is about as big as Hoppy's eye... now THAT'S some foreshortened perspective! It's funny, I actually moved Hoppy back about 5 inches because it was even harder to get good depth of field (focal depth) this way. This one was shot with a 6mm lens and the camera right up in Hoppy's face.

Setting up for these shots is really showing me the problems I'm gonna have with that mirror. It's hard to find an angle where the camera doesn't show and the light doesn't reflect directly into it and make sunspots. A flag cut from a piece of MDF helps a lot with that, but I can see it's gonna really drive me nuts. If you're gonna have a big mirror in your set, it becomes the most important factor and affects all your other choices. Plus the matte spray I misted it with to make it look dirty can really flare up bright when the light hits it a certain way. Ugly! But I should be able to minimize these problems when I've made some shelves and loaded them with bottles. Then the mirror will only show through here and there. And if it still gives me headaches... out it goes!

One thing I dislike about it is this.... good lighting is more than just how you aim your lights and shape the beams etc.... about half of it consists of what the light falls on.... form, texture, color etc. A flat mirror doesn't give it much to work with!

Sunday, October 14, 2007

Pre-production still

Photo Sharing and Video Hosting at Photobucket
This is one of many such shots I've taken so far, using the camera I'll be animating with and Framethief, to get as close as possible to actual filming conditions. The purpose is to fine-tune the visual elements as I go, making decisions about lighting, exposure, filmic space (deep space versus flat space etc). I'm also thinking about colors, since I have yet to paint much of the set and make clothes for the puppets. Things begin to suggest themselves as you look at the pics. Example; I'm rethinking my plan to make a front wall for the set, and the reflected TV is giving me ideas....

I find this a good way to go into pre-production... often you see things in pictures that you just don't notice otherwise. I find myself taking more and more stills as I go, until it's time to start animation, and then it's not a sudden transition, more of an easing-in... less surprises that way.

Thursday, October 11, 2007

The bar will be opening soon....

100_0285
Sneak peek. Sorry for the small pic, Photoshop no longer seems to work for me. But I posted it to Flickr, so click on it to see the full-size version (once there, click on 'All Sizes').

The mirror is a double-edged sword. It doubles the (very limited) size of the set and the number of puppets, but it also makes it hard to place the camera where it won't show up. That puts a bit of a crimp in my montage ideas - I'm extremely limited in terms of shooting angles. I'll try a few experiments.... but the mirror might need to go.

Sunday, March 04, 2007

Tuesday, February 06, 2007

collared - and buttoned. I'm calling this one done!!!!!

Photobucket - Video and Image Hosting
Man, I hate doing collars! As much work as the rest of the shirt, in a fiftieth the size! So much engineering... so many compound curves, edges that all need to be hemmed under somehow, and so tiny I can barely see it, much less get my bulky giant's fingers in to work with it! I swear I'll never again make a shirt with this kind of collar on it. This goes back to my idea of things that work well and things that don't.... why on earth should I struggle so hard to make something that doesn't look right anyway, puts all kinds of weird stresses on the already crappy looking shirt, and even if it did look good would only make everything look more 'normal'?!??!? From the neck down he's looking a bit like Malibu Ken's mutant cousin.

And the buttons!!!!! My god, they're so tiny they actually have no physical weight or mass! I couldn't pick them up, couldn't feel if I had one in my fingers or not, and once i finally did, I couldn't set it down! It stuck to my fingertips. Painting them was a nightmare. And still they look gigantic. From today forward I move progressively away from this cartoonfiied realism. There are ways to make puppet clothes that are at the same time much easier and look better, without ending up looking like doll clothes!

In the comments section of my last entry Sven mentioned the infamous "Muppet Stitch", that supposedly can be done from outside and look almost invisible. I've heard of it before, and decided to go in search of. I found this thread at Muppet Central: Hensen Stitch. What I gather is that there's no real magic stitch, it's more a matter of great skill on the part of the stitcher. I once downloaded a page with a bunch of diagrams for different stitches and tried to learn a few of them, but now I usually just use the most basic one... straight across, and try to keep the line nice and straight and the stitches uniform and at an even tension. It works fine, I don't see a need for anything fancier, unless of course I actually COULD do a stitch from outside to repair or finish something I can't get to anymore.

And finally, here's a clip Eric posted recently at StopMoShorts, a trailer for Wombok Forest that just totally blows me away: Wombok Forest. I can't get enough of this! It's got a perfect balance of realism with an almost cartoonish exaggeration, but without looking like a cartoon. Every element is perfectly done... all the details, the lighting, the way the puppet is dressed, and especially the animation. Bravo Miles and Julie, bravo!

Saturday, February 03, 2007

So close!
Photobucket - Video and Image Hosting
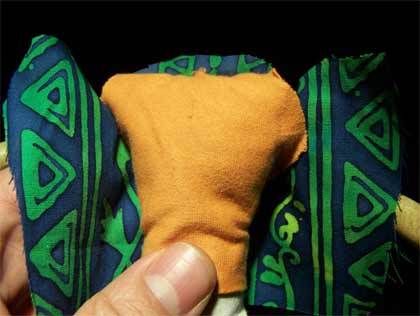
Pattern piece

Photobucket - Video and Image Hosting
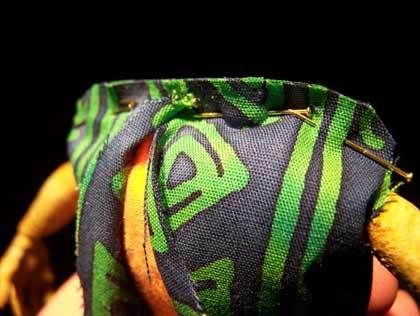
Pinned and trimmed, ready to stitch

Photobucket - Video and Image Hosting
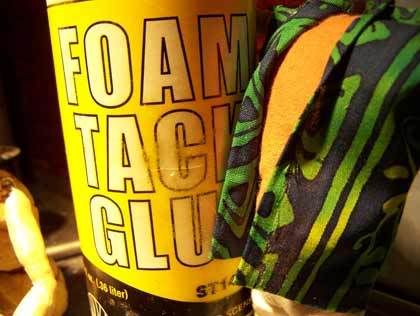
Foam Tack glue by Woodland Scenics is used for all hems. It looks and smells just like Elmer's Glue-all, but it's about twice as thick, and it tacks up instantly. That's why I like it for jobs like this, you don't need to hold things for very long, if at all. And it's very flexible.

Photobucket - Video and Image Hosting
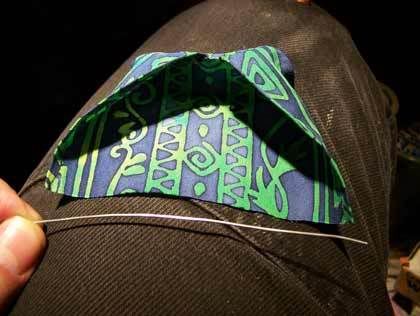
A piece of wire goes in the bottom hem to help control the shirt and make it animatable

Photobucket - Video and Image Hosting
Hey Shelley! Lookie how I did the sleeves! Good idear, huh??! Sleeves are entirely glued on, no stitching involved. Nice and simple, the way I likes it!

Photobucket - Video and Image Hosting
I just have to figure out how to make him a collar and possibly add a few more details and he's ready to rumble. Not perfect.... the seam along the top edge is kind of screwed up, and you can almost see the upper edge of one of the sleeves, oh and making the bottom hem shortened the shirt so much if he bends over at all you can see the shoddy job I did on the back of his orange undershirt. But it looks good at 60 yards on a galloping horse!