Thursday, November 29, 2007

Another point of light in the Darkstudio

Photo Sharing and Video Hosting at Photobucket
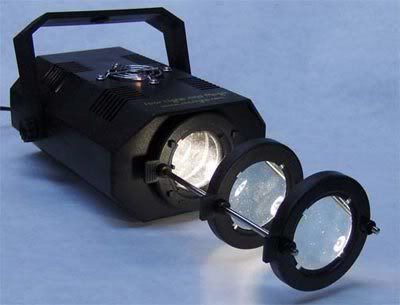
There's a new addition to the Darkstudio.... the Logo 75 Gobo Projector sold by Starlight and Magic. I've had my eye on this little beauty for some time, and finally decided to get one, mostly because of the lack of accuracy from my (otherwise fantastic) Solux Framing Art Light {which as I've mentioned before, has a tendency to sag like a Dr. Seuss Spyglass - very difficult to get exact placement}. Most of the specs for my new toy are listed on the web page, but I wanted to bring up a few things I've discovered about it.


Photo Sharing and Video Hosting at Photobucket
It's easy to insert a Gobo - here's one of the freebies they included. Notice it goes in upside-down and backwards.
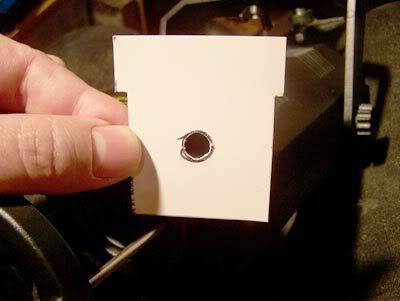
Photo Sharing and Video Hosting at Photobucket
I made a quick Hobo (Home-made Gobo) by tracing one of theirs and cutting it out from an advertising card they included - how's that for getting full use of things! I wanted just a tight spotlight beam, so I tried to cut a small circle (using an X-Acto knife). Wow, is that hard!!! You can see 2 problems with it below....
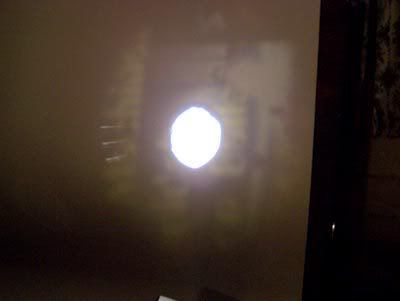
Photo Sharing and Video Hosting at Photobucket
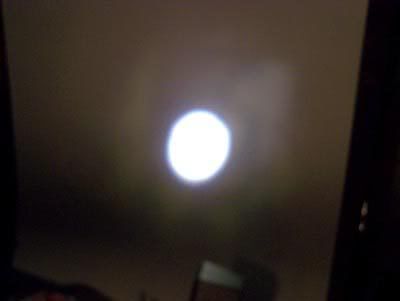
First and most obvious, every irregularity in my hand cut circle shows up plain as day! And twice as big, to make it really stand out. But also, (and I didn't notice this until I shot these pics for the blog) you can see the advertising from the back of the card coming right through! Since this pic I've covered that with some gaffer tape - it doesn't show anymore. Oh, and actually a third problem.... the 3 bars of light off to the left. Can't get rid of those - they seem to actually be coming through the hole itself! They're images of the scalloped reflector built into the halogen lamp - see below where I slightly defocused the beam to show them in all their glory....
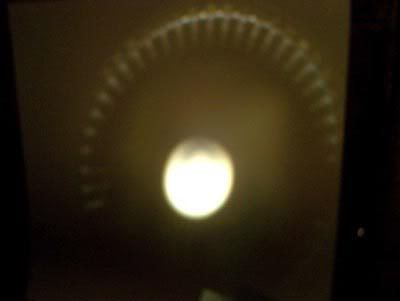
Photo Sharing and Video Hosting at Photobucket
Like a sunburst.

Photo Sharing and Video Hosting at Photobucket
The best solution is to defocus until everything looks good... the sharp edges of my crude cut blur to apparent smoothness and the bars disappear into a faint halo all around. Good enough for a spotlight effect anyway, and that's one of the main reasons I wanted this thing. As for cutting circles, I've read you can use Blu-Tac on a sheet of glass to make gobos - need to try that. It shouldn't be too hard to cut a nice round hole in blu-tac (end of a brass tube or whatever).

One final problem I'd like to bring up.... the light from this unit is a little greenish. The lenses themselves have a distinct green coloring. It can be a bit distracting, so I've cut an amber gel to correct it which does a pretty good job, but dims the light a bit. I thought it would need a red gel, and I tried a few, but they didn't work right. Pink also didn't look right, but as soon as I placed some amber gel in front, it cancelled the green nicely.

Oh, and one even more final problem (didn't realize there were so many....) - the unit has a built in fan, and when you switch it on it makes everything bounce up and down slowly for a long time.... like 2 or 3 minutes at least. You just have to wait till it stops before you can start animating I suppose. But then, I doubt I'd be ready to shoot frame 1 within 3 minutes of shouting "Lights!". It's because of the cheap plastik yoke - I should make a steel one, I think that would be much sturdier.

Just to point out the differences, the Solux Framing Art Light gives a nice white light, doesn't bounce around, and I haven't noticed it projecting any sunburst rays. But it does have that Dr. Seuss problem, which is very frustrating, and it's a lot harder to make and insert gobos for it - you have to make them on a round piece of glass and take apart the unit to insert them.


****


Ok, a little more experimenting and I solved the 3 bars of light problem. You can adjust the three lenses in various configurations.... they say to push the first one all the way up against the machine (I do keep that one there) and pull the last one all the way to the ends of the posts, then use the middle one for focus. So I tried putting the end one a little farther back and adjusting the middle one for focus again, and voila - no bars of light!

I'll post some actual pics of what it can do on-set soon, those pics of it aimed a a blank white sheet of posterboard are pretty dull and really don't show what it's capable of.

Friday, November 23, 2007

The best thing since sliced turkey

Photo Sharing and Video Hosting at Photobucket
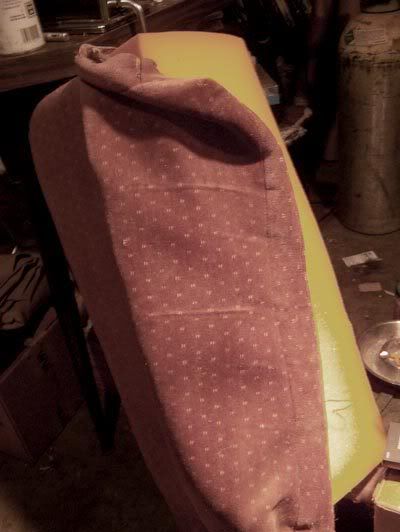
A little foamlore® today kiddies. Here's my quarry - an old sofa cushion I've been mining for many years - all the puppets I've made since Ahab came from this massive chunk of fluff.

Photo Sharing and Video Hosting at Photobucket
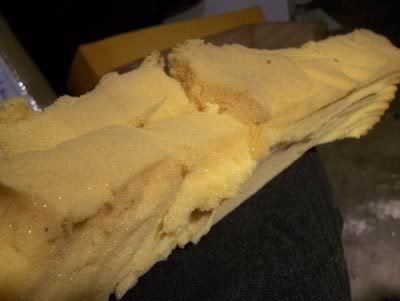
But as you can see, it was getting a bit ragged. It was great having such a big piece of foam, but I didn't have a decent way to cut off slabs from it. I used to just attack it with scissors, saws and knives and basically rip chunks from it - about as precise as a shark attack. Witness the results above.

But tonight the Thanksgiving Butterball came to the rescue - a strange ally in my ongoing pupetquest. I discovered my mom has an electric knife! Where that thing has been kept I couldn't say... I never knew she had one, but out it came along with the good china and monstrously huge dinner platters that come out only once or twice a year (and that I got to wash along with the other menfolk this year..... ). Seeing it triggered memories - I had read somewhere on some vast black message board that such a knife is perfect for cutting foam cleanly - so I appropriated it and whisked it away to the Darkstudio under the pretext of fixing the latch, which is hard for her senior hands to open easily. It took me all of two minutes to X-acto away a little sliver of grey plastic and fix the latch, and then the fun began.

Photo Sharing and Video Hosting at Photobucket
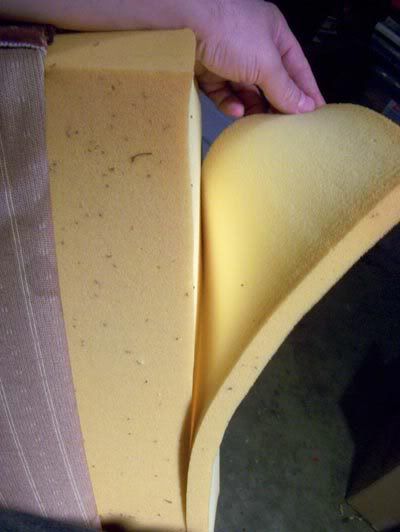
Clean as a whistle!!! (a saying that has never made sense to me.... maybe a brand new whistle is clean, but after a while they get filled with all kinds of saliva reside.....)

Photo Sharing and Video Hosting at Photobucket
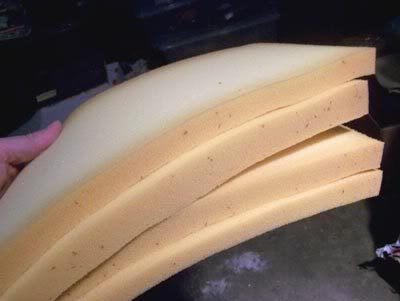
Now I have a nice stack of neatly sliced foam slabs! It actually took me about two hours to cut all these pieces because the knife gets really hot. It's not used to so much stress for a prolonged period - it takes maybe 2 minutes to cut all the way through the entire cushion, and by that time it's hot and needs to cool off for a half hour before making the next incision. I don't use electric things when they're hot anymore, ever since losing my first Dremel that way.

Photo Sharing and Video Hosting at Photobucket
And here's some Deli-Sliced® foam too - otherwise known as Athletic Pre-Wrap. It's also known as UnderWrap in case you're looking for it locally. It's used underneath tape when athletes wrap parts of their anatomies. But I know a better use for it - shaping puppets and wrapping their tiny little limbs.

Photo Sharing and Video Hosting at Photobucket
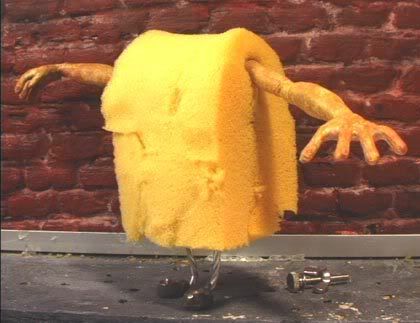
Here's how I use these two foamslices in conjunction to form puppets. Above I've (crudely) fashioned what I term a foam Bodytaco for Huck (from back in November 2006 - wow, have I really been working on these guys for over a year now!!!???). A little spritz of spray adhesive is what attaches the foam to itself and to the armature.

Photo Sharing and Video Hosting at Photobucket
Then I shape with scissors as closely as I can, which leaves a kind of bulky semi-formed puppetbody.

And finally I wrap that with the underwrap, using little dabs of Barge flexible contact adhesive at each end to secure it. It's nasty, stinky, toxic stuff, but it's the preferred adhesive among puppetsmiths. The underwrap can compress the cushion foam where needed, like for waists, and build up form in areas like hips or chest. You can cut it into strips and fold them over if you need to. For arms and legs that will be covered with clothing you can just use it alone, no cushion foam needed.

Photo Sharing and Video Hosting at Photobucket
I've also devised a technique of sculpting forms from liquid latex and cabosil to make implants (like for Veronica's boob job) that can then be Barged on and wrapped in place to give further shape.

Ok, well Kiddies, I hope you've learned something today. Fabbin' with Foam can be Fun!!!

Tuesday, November 20, 2007

Vintage Veronica

Photo Sharing and Video Hosting at Photobucket
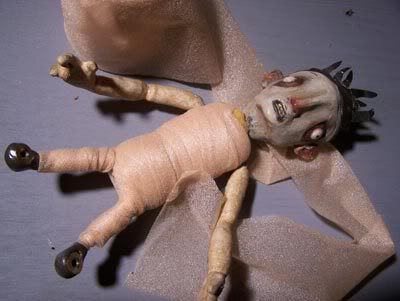
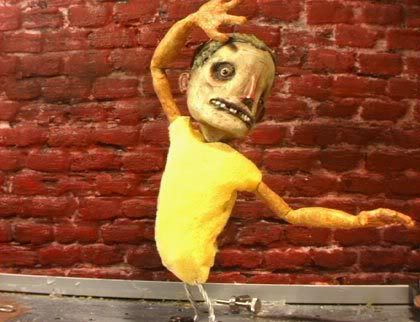
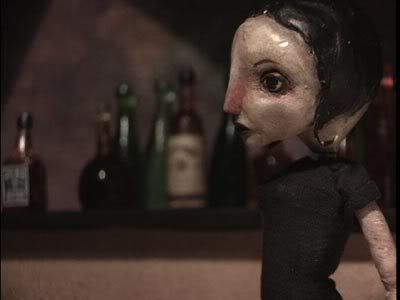
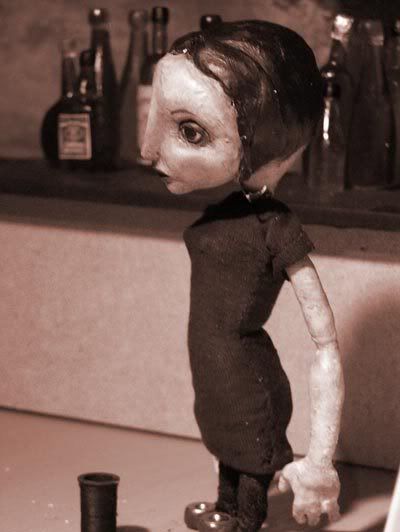
The puppets are all finished now and being dressed. Here's Veronica, desaturated nicely above and sporting lovely vintage Sepia tones below....

Photo Sharing and Video Hosting at Photobucket

Monday, November 05, 2007

Bottlefactory

Photo Sharing and Video Hosting at Photobucket

Photo Sharing and Video Hosting at Photobucket
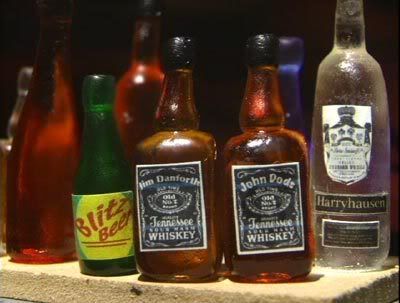
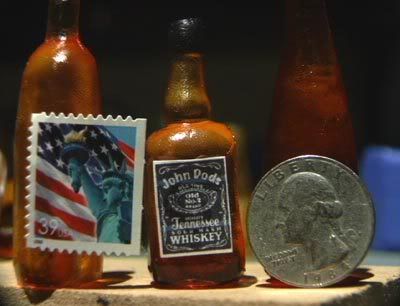
Man, that's tiny!!

I've never really done this kind of work before, especially at this tiny scale!!! But as I go I learn, and 2nd or 3rd generation comes out looking pretty good. That applies to the bottles and to the labels (the vodka label is obviously still under development).

I did discover how to get bubble-free castings without needing a vacuum chamber.... all it takes is stirring very slowly. I also learned to spray the bottles with clear coat before pouring up the silicone molds, and also to spray the castings the same way.... makes them come to life! I only wish I had smoothed down the sculpts with solvent before baking them... I had no clue there were fingerprints all over everything!!

Now I'm learning to steal - um, borrow - elements I find online to make the labels look official and snazzy - a coat of arms here, a graphic element there (in some cases a complete label, with only minor adjustments). The earlier labels are looking downright crap in comparison to the newer ones. Guess it's time to redesign them now! But it's all worthwhile - I'm learning valuable skillz.