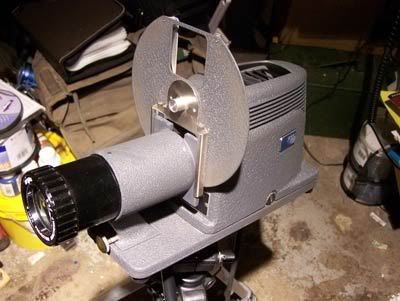
There's a new addition to the Darkstudio.... the Logo 75 Gobo Projector sold by Starlight and Magic. I've had my eye on this little beauty for some time, and finally decided to get one, mostly because of the lack of accuracy from my (otherwise fantastic) Solux Framing Art Light {which as I've mentioned before, has a tendency to sag like a Dr. Seuss Spyglass - very difficult to get exact placement}. Most of the specs for my new toy are listed on the web page, but I wanted to bring up a few things I've discovered about it.
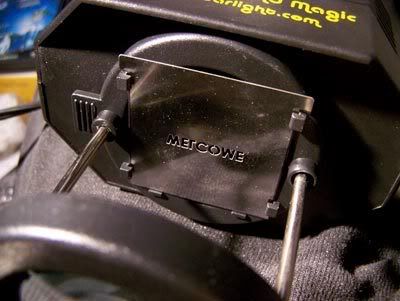
It's easy to insert a Gobo - here's one of the freebies they included. Notice it goes in upside-down and backwards.
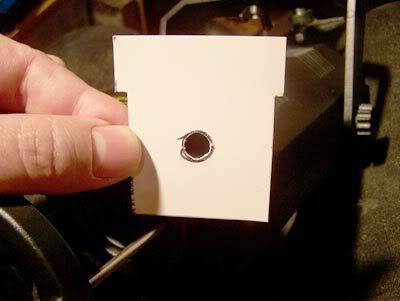
I made a quick Hobo (Home-made Gobo) by tracing one of theirs and cutting it out from an advertising card they included - how's that for getting full use of things! I wanted just a tight spotlight beam, so I tried to cut a small circle (using an X-Acto knife). Wow, is that hard!!! You can see 2 problems with it below....
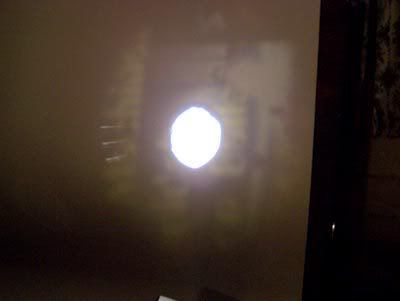
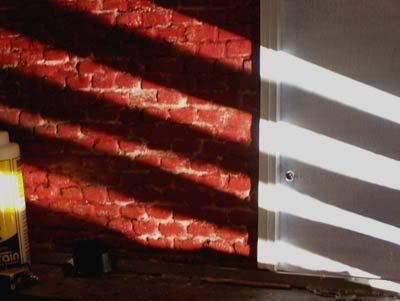
First and most obvious, every irregularity in my hand cut circle shows up plain as day! And twice as big, to make it really stand out. But also, (and I didn't notice this until I shot these pics for the blog) you can see the advertising from the back of the card coming right through! Since this pic I've covered that with some gaffer tape - it doesn't show anymore. Oh, and actually a third problem.... the 3 bars of light off to the left. Can't get rid of those - they seem to actually be coming through the hole itself! They're images of the scalloped reflector built into the halogen lamp - see below where I slightly defocused the beam to show them in all their glory....
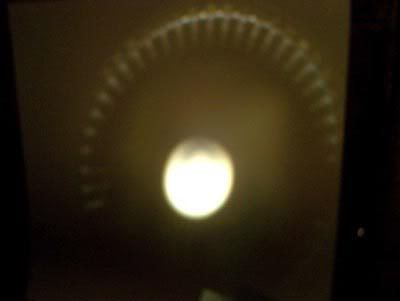
Like a sunburst.
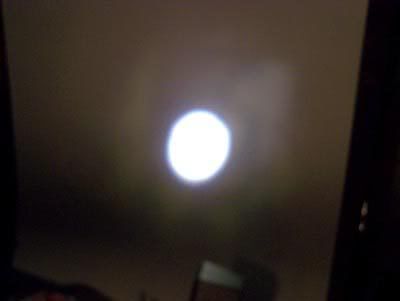
The best solution is to defocus until everything looks good... the sharp edges of my crude cut blur to apparent smoothness and the bars disappear into a faint halo all around. Good enough for a spotlight effect anyway, and that's one of the main reasons I wanted this thing. As for cutting circles, I've read you can use Blu-Tac on a sheet of glass to make gobos - need to try that. It shouldn't be too hard to cut a nice round hole in blu-tac (end of a brass tube or whatever).
One final problem I'd like to bring up.... the light from this unit is a little greenish. The lenses themselves have a distinct green coloring. It can be a bit distracting, so I've cut an amber gel to correct it which does a pretty good job, but dims the light a bit. I thought it would need a red gel, and I tried a few, but they didn't work right. Pink also didn't look right, but as soon as I placed some amber gel in front, it cancelled the green nicely.
Oh, and one even more final problem (didn't realize there were so many....) - the unit has a built in fan, and when you switch it on it makes everything bounce up and down slowly for a long time.... like 2 or 3 minutes at least. You just have to wait till it stops before you can start animating I suppose. But then, I doubt I'd be ready to shoot frame 1 within 3 minutes of shouting "Lights!". It's because of the cheap plastik yoke - I should make a steel one, I think that would be much sturdier.
Just to point out the differences, the Solux Framing Art Light gives a nice white light, doesn't bounce around, and I haven't noticed it projecting any sunburst rays. But it does have that Dr. Seuss problem, which is very frustrating, and it's a lot harder to make and insert gobos for it - you have to make them on a round piece of glass and take apart the unit to insert them.
Ok, a little more experimenting and I solved the 3 bars of light problem. You can adjust the three lenses in various configurations.... they say to push the first one all the way up against the machine (I do keep that one there) and pull the last one all the way to the ends of the posts, then use the middle one for focus. So I tried putting the end one a little farther back and adjusting the middle one for focus again, and voila - no bars of light!
I'll post some actual pics of what it can do on-set soon, those pics of it aimed a a blank white sheet of posterboard are pretty dull and really don't show what it's capable of.