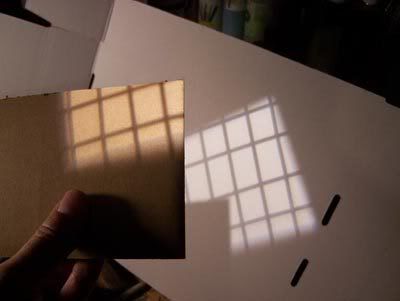
Shelley really got me thinking about this the other day.
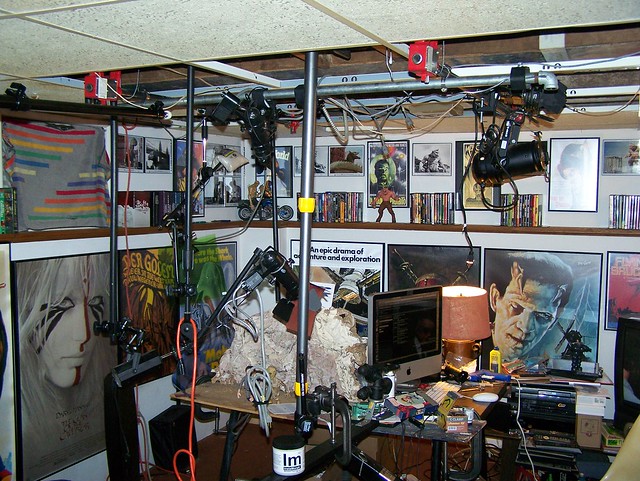
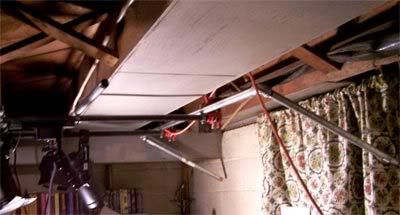
Well, I finally unpacked enough stuff in my new house that I can begin animating! I set up a shot (I want to get a little more practice in with Skulkin before I start in on the actual film itself) and discovered that even with my upgraded lighting grid, I just can't get lights to all the places I really want them. I had already built a pair of extensions I can clamp to the ceiling joists to clamp lights to, because I wanted some lights lower than my original grid would allow. But still I was too limited... I needed some way to attach a swing arm boom to them. I spent the evening cogitatin' on this problem, and slowly but surely ground out a solution using a couple of mic stands I already had on hand.
They're just cheap stands from Musician's Friend, similar to this one.
Mine aren't that tall though... I got some kind of shorties. I'm sure either will work just fine... a longer one might reach down lower than mine.

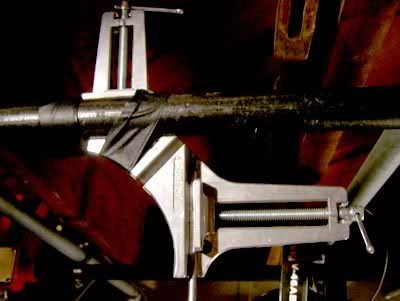
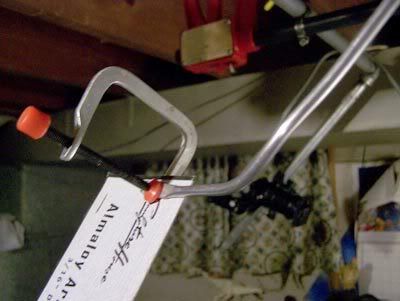
One problem I had to overcome - the tubing used for the mic stands is too small in diameter... the C-clamps I have won't close down small enough to get a grip on it. I solved that with two pieces of wood and a little electrician's tape (I haven't unpacked far enough to find my gaffer's tape, or I'd use that instead).
This kind of C-clamp can be bought from a music store or a lighting supplier who handles disco type lights. If you walk into a hardware store and ask for a C clamp, they won't have this kind.

Here you see it all taped up. Now it can get a tight grip on the mic stand.

I had to use 2 C-clamps... one to attach it to the ceiling joist and one to attach the lighting unit. Notice I removed the bolt from the clamp that will attach to the ceiling.

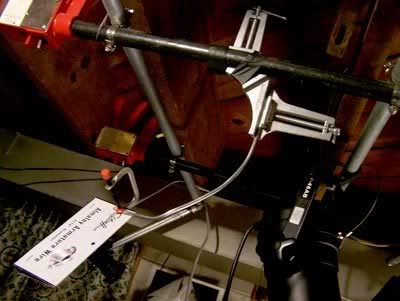
Here's the whole assembly. Oh, I didn't get pics of this, but I had to cut off the bottom of the stand to remove the tripod legs. A hacksaw is essential equipment!

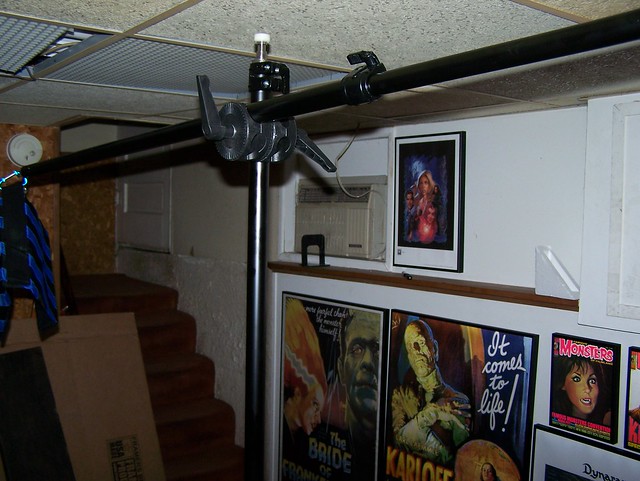
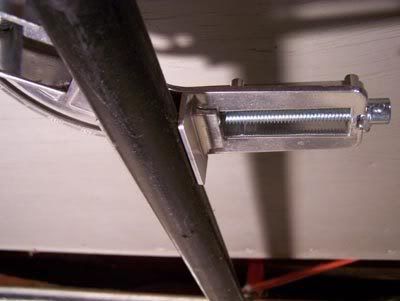
Here's the ceiling attachment. Now you can see why I had to remove the bolt... though I suppose you could substitute a big wood screw and mount it permanently, or drill through the joist and use a coach bolt. I like the ability to move it wherever I want though.

Another shot of the mount... plus the big knob that tightens the swing arm boom.

It can swing from here too.

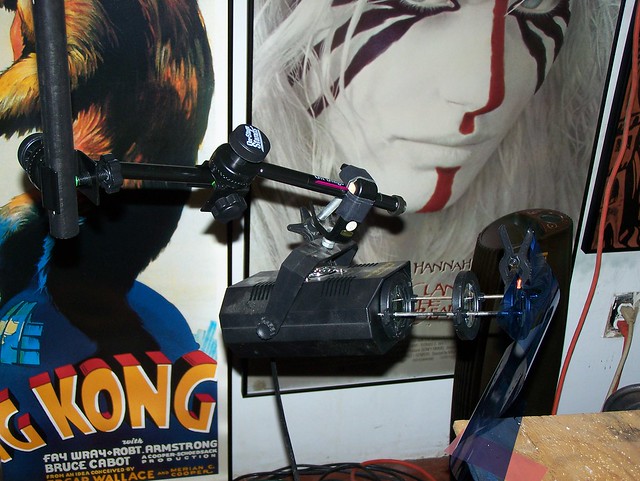
The business end, bearing one of my modded Blackbird PAR 16's. Oh, I finally managed to find a US site that sells barndoors for them! Here it is: Stage Spot.

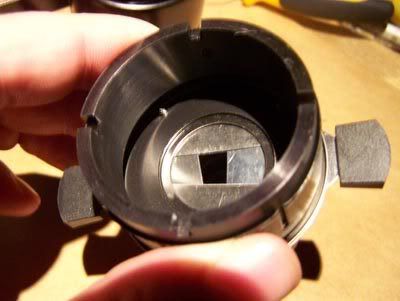
I wanted to post this one to show how I attached the tracklight unit into the snout of a PAR 16. The older PAR units I bought from Musician's Friend were made a little differently, and you could just jam them together for a perfect pressure fit, but the newer models have thicker rivets inside that prevent that, so I just busted out the FastSteel epoxy putty and packed a ring of it inside. First I coated the end of the tracklight unit itself with dishwashing liquid as a release, and before the putty fully cured I gently rotated it to break the bond... now the putty will stay inside the PAR snout and I can remove the track light if I want.