Showing posts with label Gobo. Show all posts

Thursday, November 29, 2007

Another point of light in the Darkstudio

Photo Sharing and Video Hosting at Photobucket
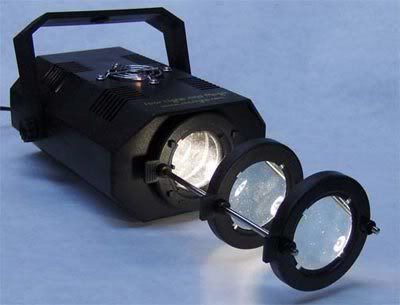
There's a new addition to the Darkstudio.... the Logo 75 Gobo Projector sold by Starlight and Magic. I've had my eye on this little beauty for some time, and finally decided to get one, mostly because of the lack of accuracy from my (otherwise fantastic) Solux Framing Art Light {which as I've mentioned before, has a tendency to sag like a Dr. Seuss Spyglass - very difficult to get exact placement}. Most of the specs for my new toy are listed on the web page, but I wanted to bring up a few things I've discovered about it.
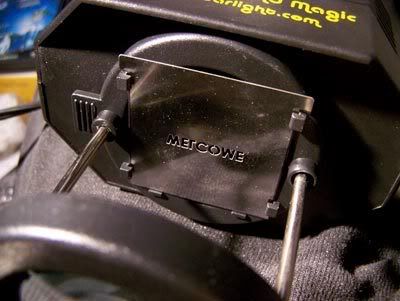

Photo Sharing and Video Hosting at Photobucket
It's easy to insert a Gobo - here's one of the freebies they included. Notice it goes in upside-down and backwards.
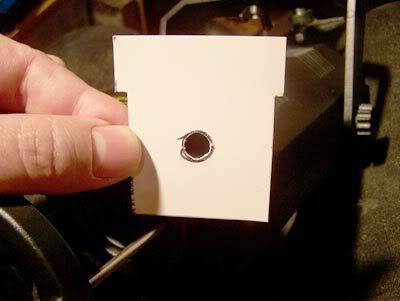
Photo Sharing and Video Hosting at Photobucket
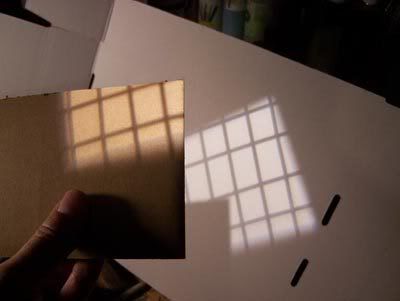
I made a quick Hobo (Home-made Gobo) by tracing one of theirs and cutting it out from an advertising card they included - how's that for getting full use of things! I wanted just a tight spotlight beam, so I tried to cut a small circle (using an X-Acto knife). Wow, is that hard!!! You can see 2 problems with it below....
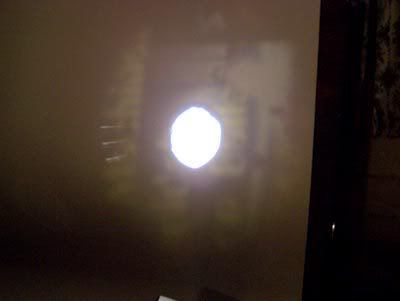
Photo Sharing and Video Hosting at Photobucket
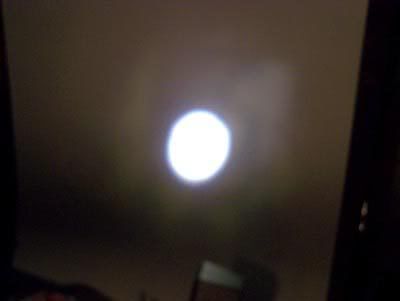
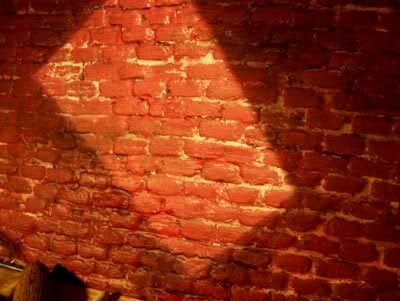
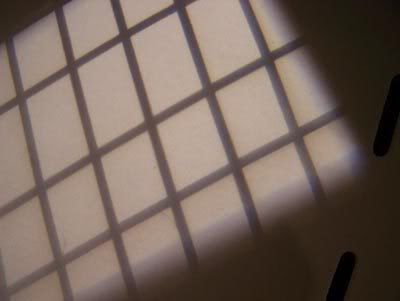
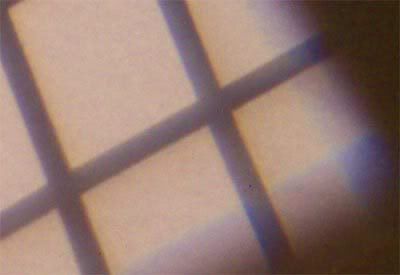
First and most obvious, every irregularity in my hand cut circle shows up plain as day! And twice as big, to make it really stand out. But also, (and I didn't notice this until I shot these pics for the blog) you can see the advertising from the back of the card coming right through! Since this pic I've covered that with some gaffer tape - it doesn't show anymore. Oh, and actually a third problem.... the 3 bars of light off to the left. Can't get rid of those - they seem to actually be coming through the hole itself! They're images of the scalloped reflector built into the halogen lamp - see below where I slightly defocused the beam to show them in all their glory....
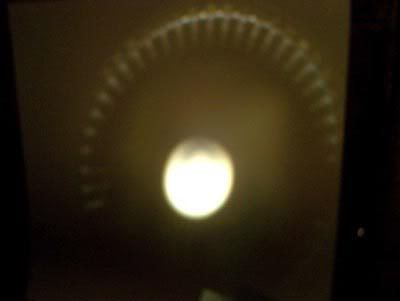
Photo Sharing and Video Hosting at Photobucket
Like a sunburst.

Photo Sharing and Video Hosting at Photobucket
The best solution is to defocus until everything looks good... the sharp edges of my crude cut blur to apparent smoothness and the bars disappear into a faint halo all around. Good enough for a spotlight effect anyway, and that's one of the main reasons I wanted this thing. As for cutting circles, I've read you can use Blu-Tac on a sheet of glass to make gobos - need to try that. It shouldn't be too hard to cut a nice round hole in blu-tac (end of a brass tube or whatever).

One final problem I'd like to bring up.... the light from this unit is a little greenish. The lenses themselves have a distinct green coloring. It can be a bit distracting, so I've cut an amber gel to correct it which does a pretty good job, but dims the light a bit. I thought it would need a red gel, and I tried a few, but they didn't work right. Pink also didn't look right, but as soon as I placed some amber gel in front, it cancelled the green nicely.

Oh, and one even more final problem (didn't realize there were so many....) - the unit has a built in fan, and when you switch it on it makes everything bounce up and down slowly for a long time.... like 2 or 3 minutes at least. You just have to wait till it stops before you can start animating I suppose. But then, I doubt I'd be ready to shoot frame 1 within 3 minutes of shouting "Lights!". It's because of the cheap plastik yoke - I should make a steel one, I think that would be much sturdier.

Just to point out the differences, the Solux Framing Art Light gives a nice white light, doesn't bounce around, and I haven't noticed it projecting any sunburst rays. But it does have that Dr. Seuss problem, which is very frustrating, and it's a lot harder to make and insert gobos for it - you have to make them on a round piece of glass and take apart the unit to insert them.


****


Ok, a little more experimenting and I solved the 3 bars of light problem. You can adjust the three lenses in various configurations.... they say to push the first one all the way up against the machine (I do keep that one there) and pull the last one all the way to the ends of the posts, then use the middle one for focus. So I tried putting the end one a little farther back and adjusting the middle one for focus again, and voila - no bars of light!

I'll post some actual pics of what it can do on-set soon, those pics of it aimed a a blank white sheet of posterboard are pretty dull and really don't show what it's capable of.

Saturday, August 18, 2007

Upgrading the grid

Photo Sharing and Video Hosting at Photobucket
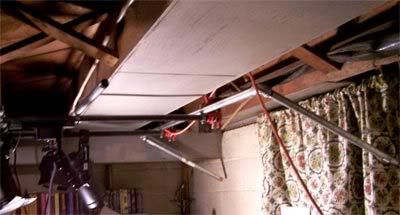
I just added about 20 pounds of steel to my grid, in the form of extension pipes attached by galvanized elbows. Now I can hang lights a good deal lower than I could before, and farther off the edges of the set. I've been wanting to get some way of putting those edge lights way off in the backfield. You can also see my "early americana" plastic window drapes....

Photo Sharing and Video Hosting at Photobucket
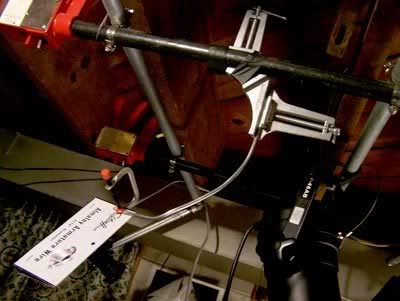
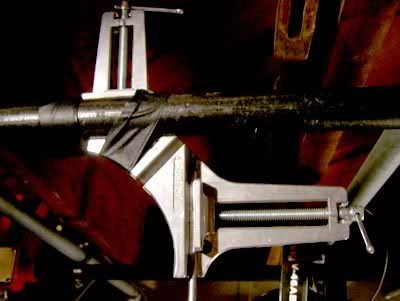
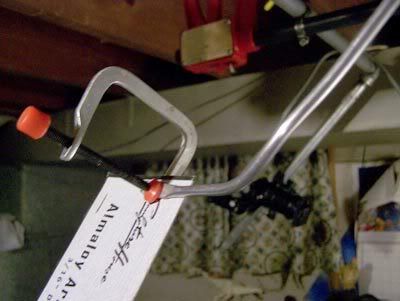
I also whipped up a quick prototype Gobo/flag holder. This is about as simple as it gets - just a corner clamp (used for gluing picture frames together or making mitered cuts), a piece of 3/16" aluminum armature wire, and a small el-cheapo clamp. And I'm sure I could do without the corner clam (either clamp actually) if I bent the wire around the pipe sufficiently and taped the hell out of it!

Photo Sharing and Video Hosting at Photobucket
I hope you can make out in this pic, the kind of corner clamp I have isn't deep enough to get a good solid grip on my 3/4" OD pipe - it only reaches the midpoint. Not secure at all! One slight nudge and it pops off, ruining the entire shot as well as my day.

Photo Sharing and Video Hosting at Photobucket
Once again, gaffer tape to the rescue!!! I'd like to see it pop off now!!!

Photo Sharing and Video Hosting at Photobucket
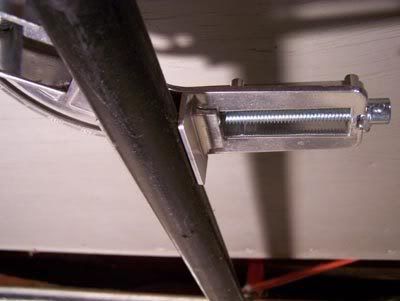
Here's a detail shot of the other end. Look closely - I've hammered the end of the armature wire flat so it can nestle nicely into the clamp and hold a piece of cardboard or thin plywood or whatever material I end up making gobos from. I'll need to experiment - some materials might tend to warp under the intense heat from my new lights.

Friday, August 17, 2007

Ridin' the Lightwave!!!

Photo Sharing and Video Hosting at Photobucket
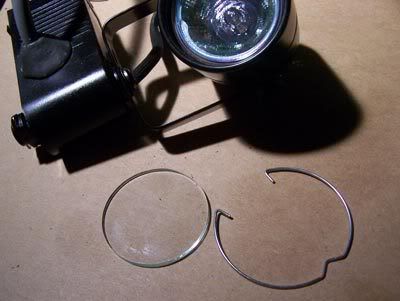
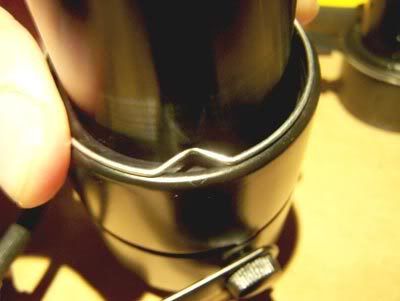
Ah, my magic package arrived today.... my Solux Framing Art Light Projector kit!!! First step in assembly is to remove the front glass and retaining ring from my Lamps Plus tracklight (oddly there were no instructions with the framing light kit - but it's not hard to figure out). At this point I need to determine if the snout will fit securely on this light unit. It looks identical to the Solux unit, but you never know.

Photo Sharing and Video Hosting at Photobucket
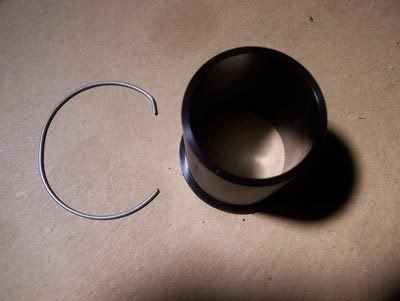
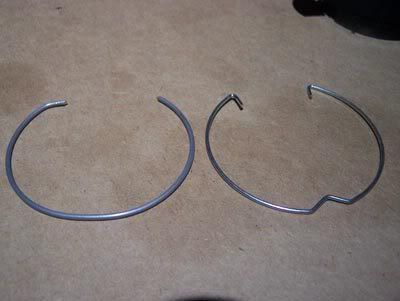
Here's the snout and its retaining ring. I tried it, but it didn't want to fit right - it kept trying to fall out of the Lamps Plus fixture. So I decided to try it with the Lamps Plus retaining ring instead.

Photo Sharing and Video Hosting at Photobucket
They're designed very differently - the LP design actually looks a lot better to me.

Photo Sharing and Video Hosting at Photobucket
.... But it won't quite fit!!!

Photo Sharing and Video Hosting at Photobucket
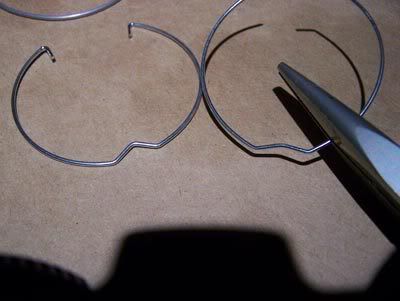
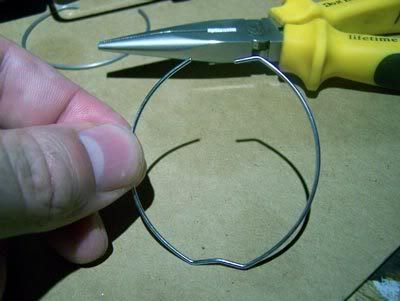
So I flattened out the.... um.......... little bendy part.

Photo Sharing and Video Hosting at Photobucket
Which opened up the ring some more, causing the ends to overlap - and making it too thick there.

Photo Sharing and Video Hosting at Photobucket
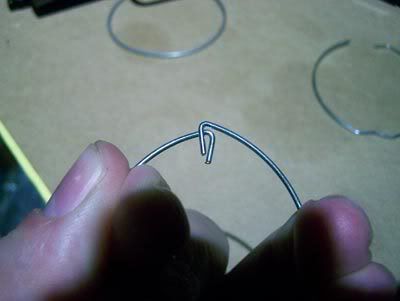
So I snipped off one of the.... um..... handle pieces (???) and bent the other one a bit flatter same as I did the... um.... bendy thing at the bottom. That worked perfectly!!! Success!!! That means I'm in business. I can now create a Frankenstein Framing Art Light from my Lamps Plus (el-cheapo) track lighting unit!!!

Photo Sharing and Video Hosting at Photobucket
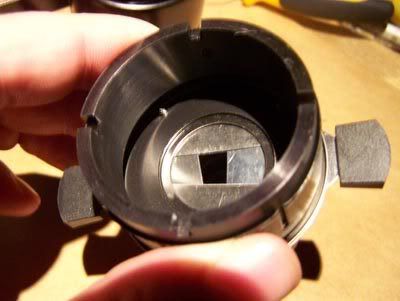
This is an inside view of the framing shutters inside the front assembly. Very simple economical design. You can shift them around to a wide variety of positions, creating all sorts of rectangles and parallelograms (and... um... un-parallelograms).

Photo Sharing and Video Hosting at Photobucket
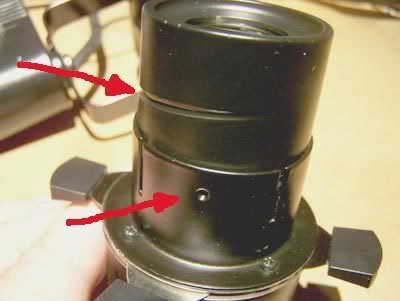
Here's the screw thread that allows you to adjust the focus. It's stamped from sheet metal, so like all parts of this nifty (but somewhat flimsy) little device, it's a little wonky. But it's service-able, and so small and lightweight!!! Perfect for hanging from the lighting grid (unlike my hefty and extrmeely bulky slide projector!!!)

Photo Sharing and Video Hosting at Photobucket
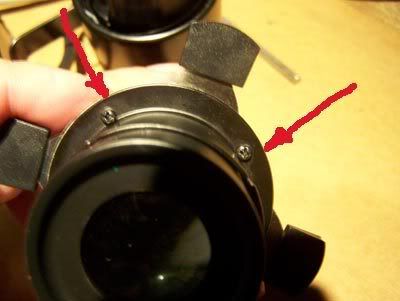
And see these tiny little (slightly out-of-focus) screws? These are important. It took me a while to figure it out, but you can tighten them to snug up the tension on the framing shutters. At first it was all really loose and they would just flop around - I thought I was going to have to jam something in there to wedge them in place, till I saw the screws. Good screws!!!

Photo Sharing and Video Hosting at Photobucket
Now we start to get to the fun stuff! Just a quick example of what it can do. Or if I was to unfocus it the edges would get fuzzy. The weird part is everything is upside-down and backwards..... when you move the left framing shutter it changes the right edge. Hard to get used to.

This device is not advertised as a gobo projector - but I was hoping I might be able to use it as one anyway. It seems like since the framing shutters will focus so sweetly and give a good crisp image, I should be able to put some kind of slide or gobo in there at the same place and it should work. At first I thought it meant removing a shutter or two, or something equally ill-advised. But then it occurred to me - there's no need for anything so drastic when the whole fixture just slides apart! It's all pressure-fit together! I opened it up and started thinking about what I might be able to use as a gobo/slide.... should prefferably be round, the right size, and made of glass.

Photo Sharing and Video Hosting at Photobucket
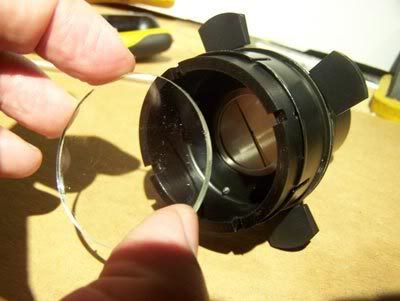
Hey!!! How about the glass I removed from the fixture right at the beginning? And sure enough - it fits perfectly! Kind of small, but I could see making designs on it with black tape or something. Or making Photoshop images and printing them on transparencies that I could sandwich between two pieces of the glass. Or something. Anyway, this is starting to get really exciting now!!!

Photo Sharing and Video Hosting at Photobucket
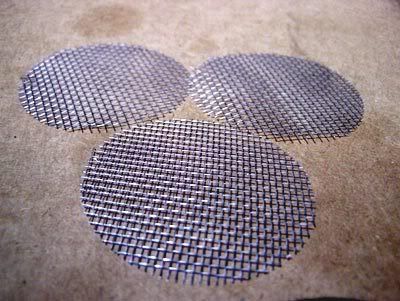
One of the accessories I ordered to try out was the "Neutral Density Screen Kit". It cost $15. What they sent me were three discs cut from a screen door!!! Ripoff!!!

Photo Sharing and Video Hosting at Photobucket
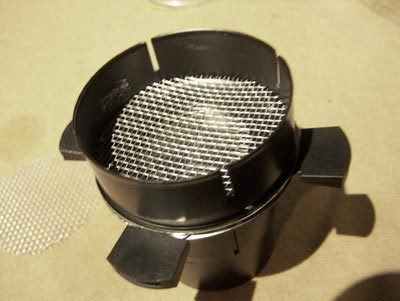
But I noticed they were also the right size to fit in the gobo slot, so rather than mess with making some tape design on the tiny piece of glass, I just popped a screen in there to try it out and see if it will focus properly and give a good image.....

Photo Sharing and Video Hosting at Photobucket
Voila!!! Folks, we have an actual Gobo projector!!! But notice, when it's focused on the screen the shutters that create the outer edge are fuzzy. (not that that's a deal-breaker or anything)

Photo Sharing and Video Hosting at Photobucket
And in fact, I took this close-up detail shot to try to show the weird rainbow/prism effect you get. Can you see the reds and blues along all the edges? I assume it's because the bulb isn't glass - it's made of quartz. If I understand right it's because the halogen gas inside is under too much pressure and heat - glass would shatter. I wonder if anything can be done about that? (meaning the weird prismatic color effect, not shattering light bulbs)

Photo Sharing and Video Hosting at Photobucket
Of course there is another way to use gobos. They don't need to fit inside the projector unit itself - here's just a quick little demonstration of the more traditional way - you just cut out a shape and place it in front of the beam somewhere near the set. This way doesn't seem to cause the rainbow effect, so it might be the way to go.

Actually what I'm using here would more properly be called a flag (or a cutter - I'm not up on all the terminology). Just a straight edge to cut off light where you don't want it. It would be supported by some kind of flexible arm - something I'll be covering soon in my ever-growing Lighting Department upgrade. It's exciting times around the Darkstudio folks..... all my lighting purchases have been golden (and I don't mean color temperature-wise) - it's really a huge thrill to see everything working out better than I had planned or expected. August 2007 will be remembered for a massive heat wave - but I'll remember it for riding the light-wave!!!

Thursday, July 05, 2007

Lightmatters - or A Hobo in the Studio

Photo Sharing and Video Hosting at Photobucket
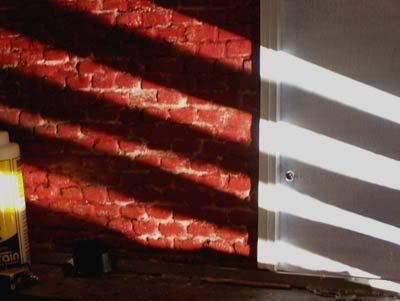
Nice Film Noir effect, huh? Accomplished with the help of my own personal HOBO (as seen below). See, Hobo is my acronym for Home-Brewed Gobo (pretty sweet, eh?). A Gobo, of course, is a focused studio light that projects an image onto the set - they're commonly used for stage shows etc, but are also very nice to have around a stopmo studio for effects like shuttered windows, branches casting shadows on the ground, etc.
Photo Sharing and Video Hosting at Photobucket
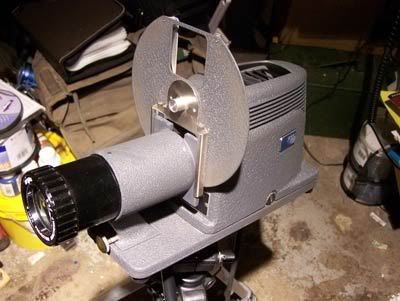
For mine I just bought an old slide projector off ebay - something small and without the bulky carousel. Analog slide projectors are relics of the past now - phased out to make way for the shiny new digital projectors. But these things are stockpiled away in closets and attics all over the place, just waiting for you to snatch them up. Mine is an Argus AP200, a thing of beauty made in a time when looks counted. It's got this great sort of Art Deco look, kind of reminds me of the front of a train. It takes a 200 watt bulb (no longer manufactured, but can be sourced online at various sites that handle these kinds of things). It's pretty small, but weighs about 10 pounds... but fortunately it has a threaded hole in the bottom to go on a tripod. To create the Gobos you just have to place something opaque on a transparent slide of some sort that fits in the slide housing. I just cut some plastic from the front of a DVD case and stuck a few strips of gaffer tape on it for my admittedly rough shutter effect. A little online research reveals that blu-tac also works.
Photo Sharing and Video Hosting at Photobucket
Another good alternative would be to get an Opaque Projector like the Artograph Tracer. There's a smaller, cheaper model called the Tracer Jr, which has a 3.5" x 3.5" platten for inserting artwork and takes a 75 watt household bulb, which might be good enough, but the regular Tracer takes a 100 watt bulb and allows artwork of 5.5" x 5.5". These would be much lighter than my heavy slide projector and allow you to draw line art using markers or something, doubtless a lot easier to create complex patterns than by cutting tiny pieces of tape to go on a slide!
I've decided to step up the lighting department in the Darkstudio - lighting is essential in creating a good visual effect. This is just one of the tools I'm creating for my arsenal - I'll be detailing more in future Lightmatters entries.