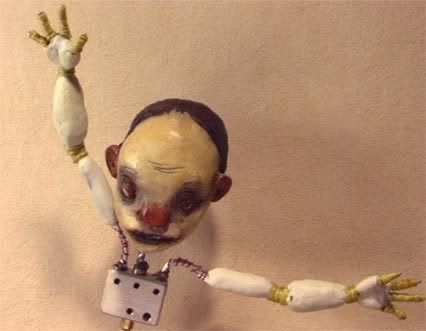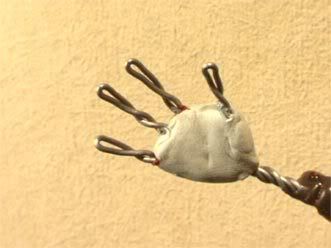
Ok, so I butchered Sting... so sue me! Here it is folks... at long last. The
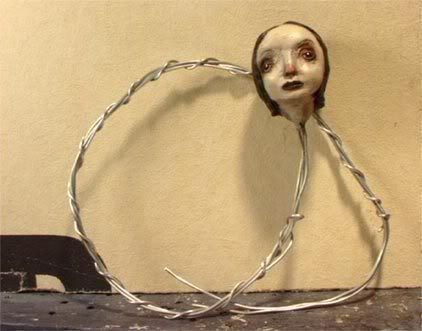
secret puppet. Her name is Cindy Lou, and she'll be the tiniest puppet I've ever attempted to make (that's what I was talking about before, when I said the
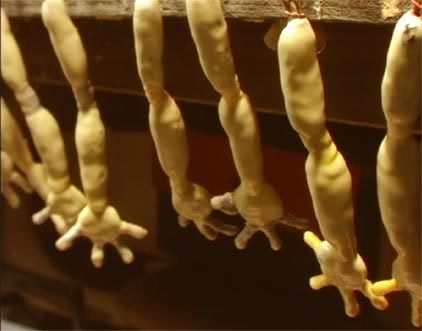
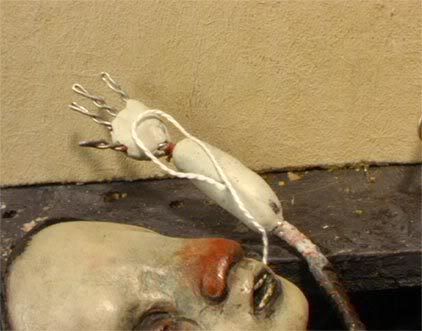
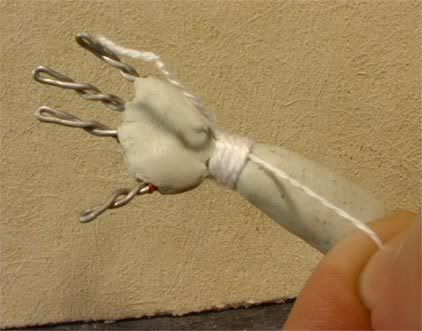
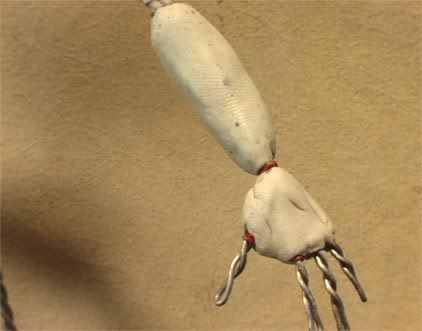
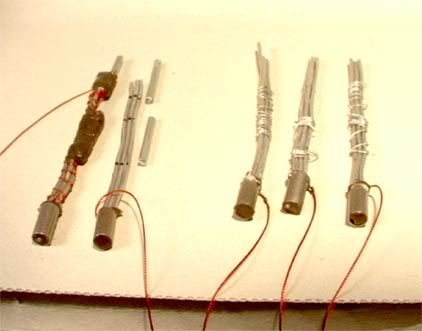
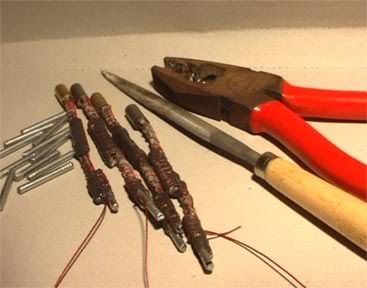
secret puppet would be something special). This is exactly how she arrived in the box Scott sent me, along with all the other heads. Each had a foot and a half long coil of wire (three strands of 1/16" aluminum armature wire) sticking out of it, loosely coiled like this to avoid kinking. I asked him to do it like this because originally I wasn't planning to use the StopMoTech aluminum chest blocks... I was just going to make them all the simple straightforward way. Well, since for 6 of them I did use the chest blocks I ended up cutting the wire for them, but now that I'm going to work on Cindy I can show how I do it. Though simply because I'm making her so small things might be a little funky. At this point I'm not entirely sure how I'll do everything, I'm just winging it.
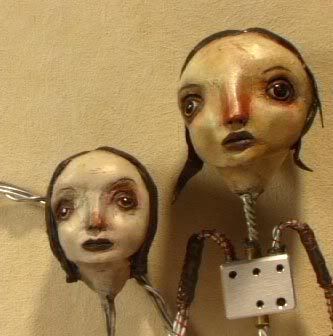
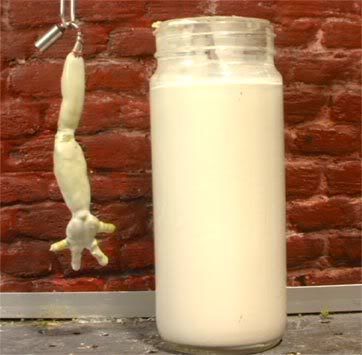
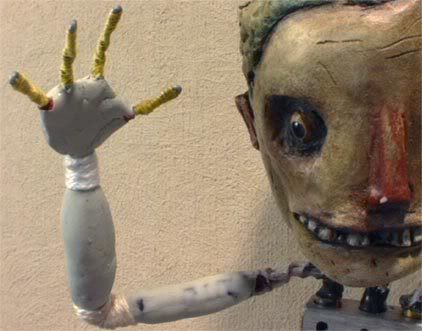
Here's a size/height comparison with Mommie Dearest. This is just about how high I want Cindy to stand. She's the smallest head Scott has sculpted to date.
Ok, time for more
Wiretech.
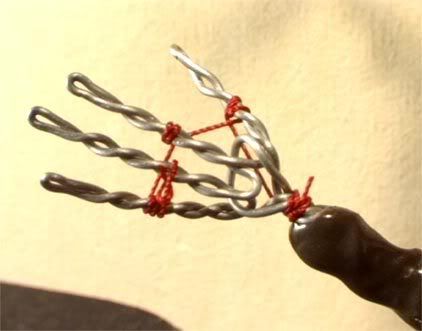
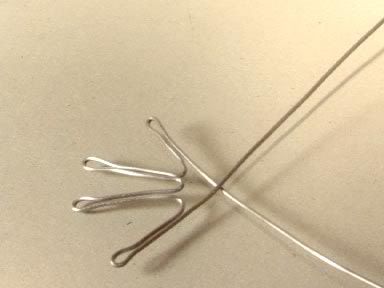
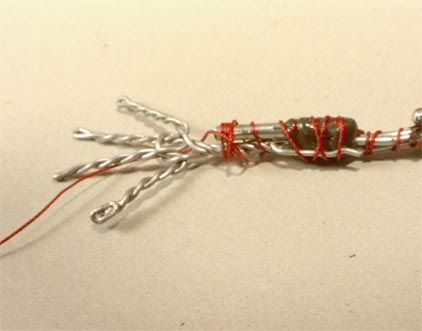
I like to use
continuous strands of wire as much as possible, and make sure they're joined strongly and permanently at the intersection points. Many beginners try to join together separate pieces of wire and end up with unstable joins at shoulders and hips. Instead iIlike to run continuous strands all the way through, and then there's no way anything is going to loosen or come apart later. And when you twist them together it serves to tighten everything down(since I'm back to twisting again).
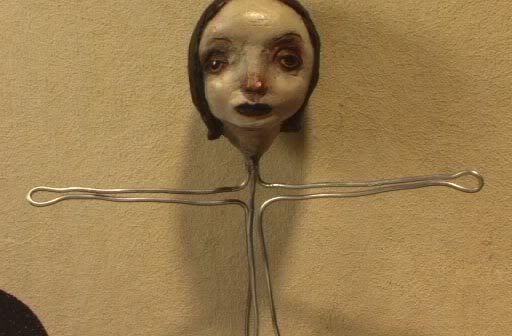
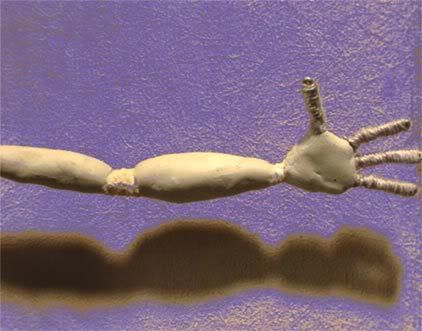
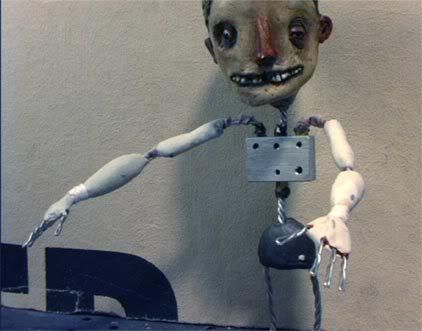
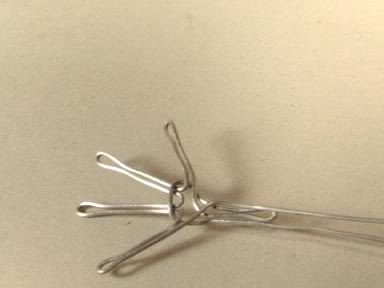
I've decided since Cindy Lou is so small she only needs two wire strands for her arms... she doesn't need to do any heavy lifting or anything. But I want the spine and legs to have 3 wires. So here's the design I came up with.
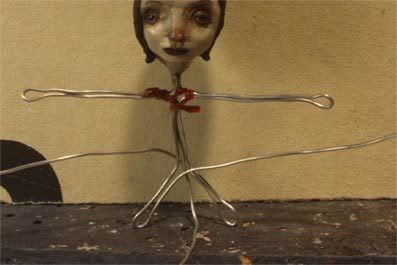
Can you still see what's going on? Just like the arms, each leg is one piece of wire that goes out to the foot, loops back, and at this point they're crossed at the center, just a lot of excess wire sticking out everywhere. And there's still one extra wire coming down from the spine that needs to be fastened off somehow. I always try to fasten these things at intersection areas (chest or pelvis) where they'll be locked inside a solid block of epoxy putty. But in little Cindy's case, I don't think I'll even be using epoxy putty since she's so tiny. Unless it seems like she needs it.
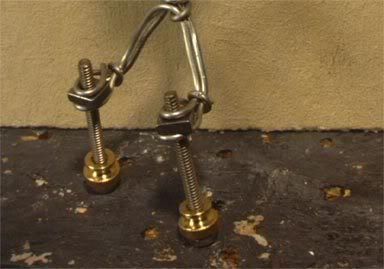
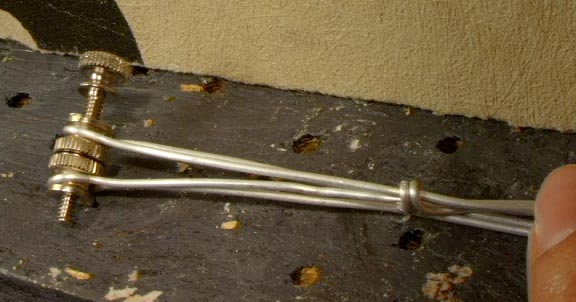
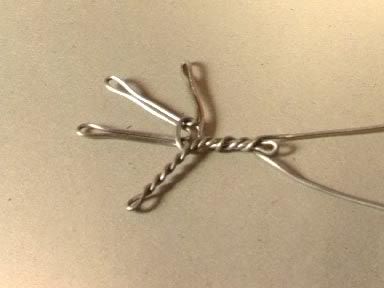
Tiny puppets call for tiny tiedowns! I'm using my smallest ones here... 6/32 square nuts. Notice I have a loop of wire running under each nut and another loop over the top, trapping the nut in between like a sandwich. I've got the screws in place to hold everything together while I epoxy them in place.
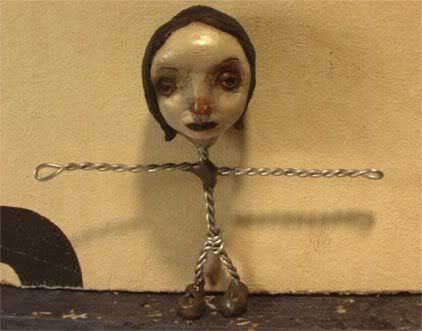
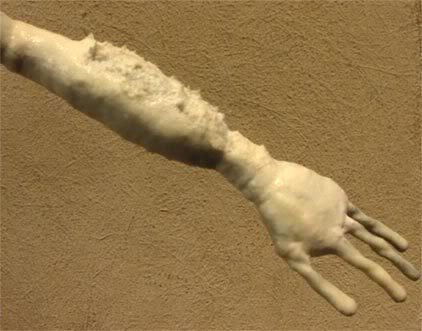
Ok, she's all twisted up now. I'm not entirely happy... I wish the legs were at least twice as long, and she suffers from the same problem they all do... huge feet! Well, at least they're all consistent. I think she'll be wearing some big clodhoppers. Oh, and like Buster, she can't bend her knees dammit! When will I learn??!! My excuse is that it's so small... everything should have been scaled down more. Two wires would definitely have been enough for such short legs. Oh well... next time I'll know. If nothing else, I'm getting a lot of experience here!
***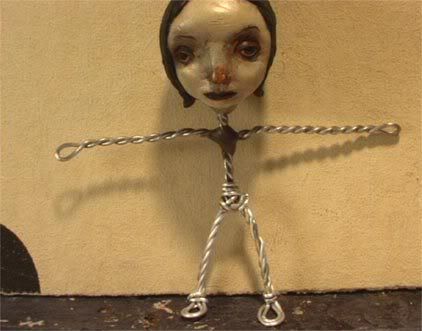
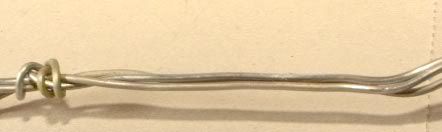
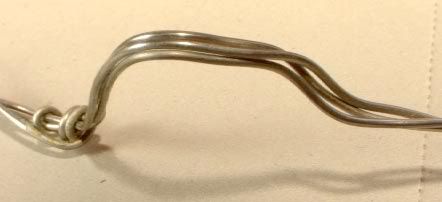
I got bold and cut off her feet, hoping I can salvage enough wire to tie in some new stuff and extend the legs a bit. I don't know... it's pretty crazy, all mixed up and stuff... I'm not even sure exactly what I did! But it feels sturdy enough to work. I'm trying a different approach for attaching the tie-downs this time... note the twin loops one inside the other... should keep the feet a little more petite.