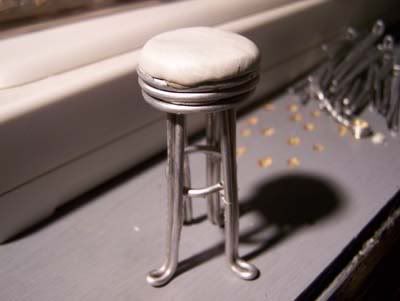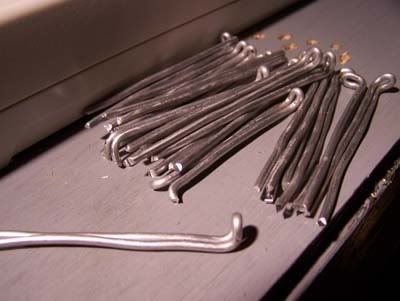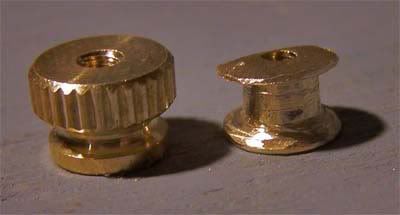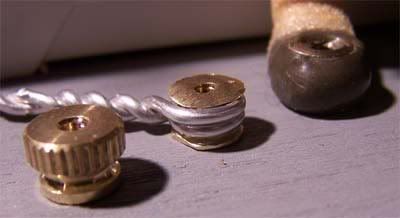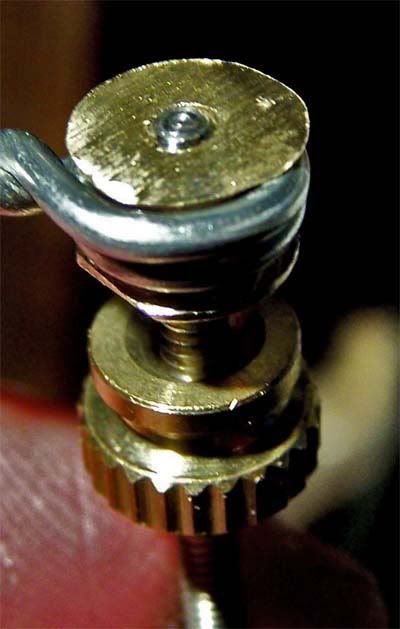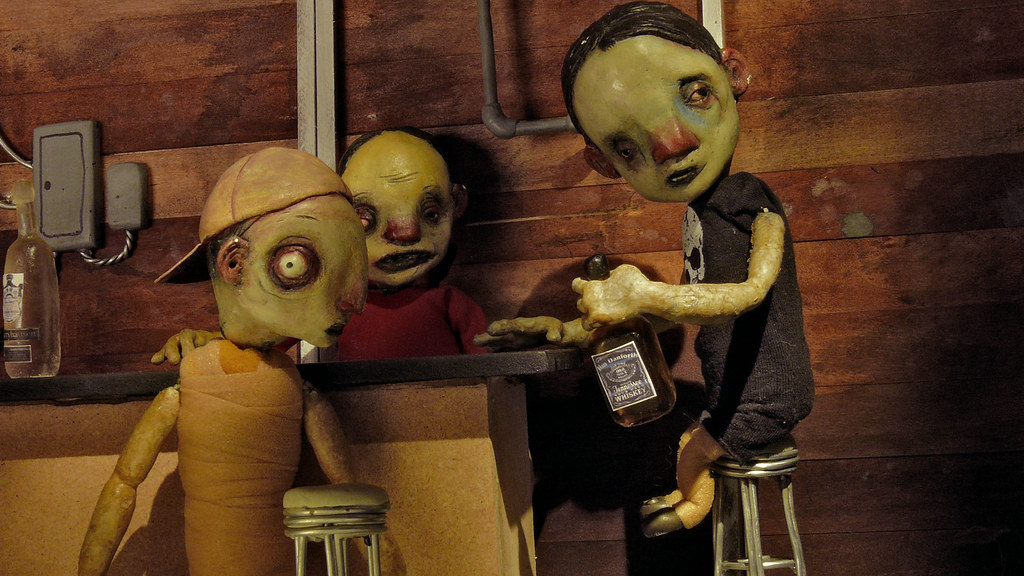
Getting a feel for how the stools will fit into the decor. A little tall --- standers-by need to look up to talk to the seated, but I do like the way their tiny little legs dangle so comically. Imagine the difficulty for them, climbing onto one of these! Oh, and click the above pic to see it in megagigantic size at Flickr. I don't know, I MIGHT have to make shorter stools....
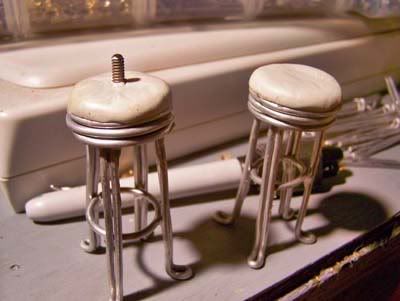

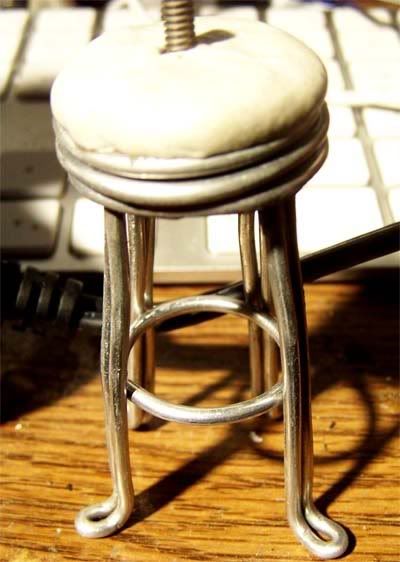
Ok, tonight things went a lot better than the prototype stool last night. I've worked out a methodology that turns it into a pretty simple production line, and gives me much better control over the finished product. Look how much taller and prouder the new stool is in the above pic than its predecessor, all sort of slumped and bedraggled looking. Plus of course it has a nice rectal tiedown on top!
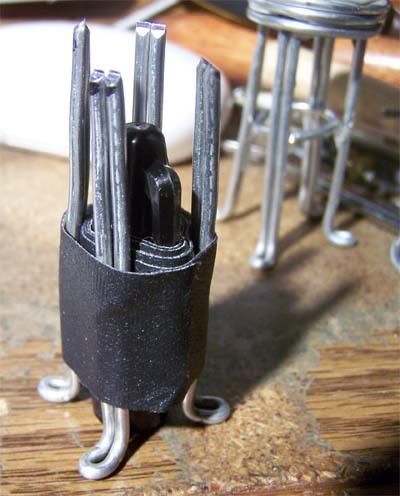

The heart and soul of my assembly line.... the leg jig. No no... it's NOT a sharpie cap with gaffer tape wrapped around it... it's actually intricate state-of-the-art equipment, made of beryllium. Ber ILL eeee yum. yeah.
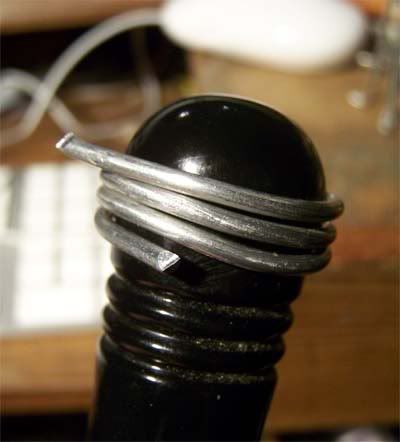

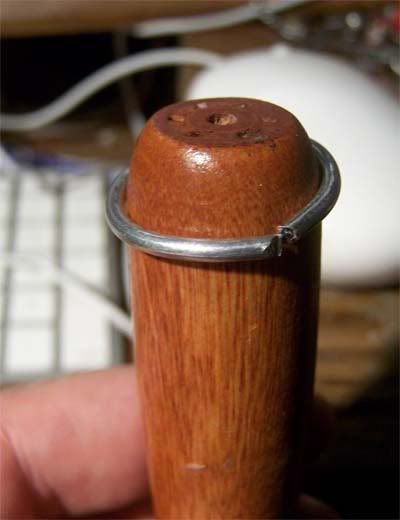
Round-thing-on-top wrapping jig. Ahem. No, it's NOT the end of my coping saw handle! It's made of carborundum. say it. Emphasis on third syllable - carboRUNdum.
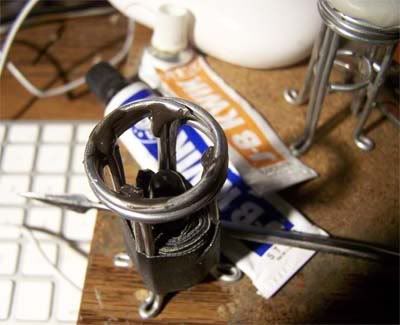

The Kwikweld station. A nice little tack-weld to hold everything together and reduce fidgetty, flippy floppy action as I work. This step might not even be necessary really. Think I'll eliminate it from the workflow. Kind of hard to clean up sticky nasty Kwikweld that likes to run down the legs.
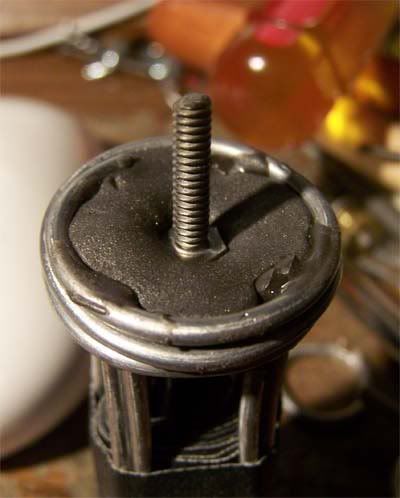

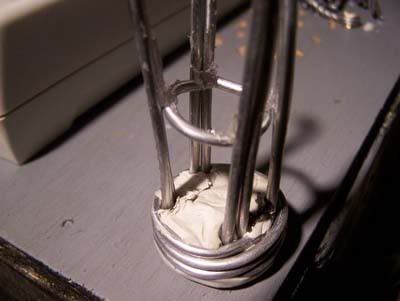
Then a little blob of 5 minute Fasteel epoxy putty with a cut-off 6-32 screw stuck in. This is a purely structural layer, to be covered by the cushion when we arrive at the upholstery station.
Final assembly and cleanup. Seat cushion made from 20 minute Kneadatite A+B epoxy putty (gives me more time to sculpt it, plus a better color to paint later). The ring is hotglued to the legs on the underside, where it hopefully won't show, and the gap is hidden behind one of the legs that will be in the front. And we're done. Total time, about 1/2 an hour. Schaaaa-weeeet!

